Thursday, November 17, 2011

Getting Ready

Fall is definitely a food lover's season. I mean, along with summer and spring and winter of course.


In this crisp, cool season, there is much to look forward to as a person who enjoys spending time in the kitchen and at the table. There is the promise of a warm kitchen when the oven is on to bake or roast. There is the beauty of a steamed up window when you are cooking a hearty soup or a big pot of pasta sauce.

There is the smell in the air when you step outside, the crunch of leaves underfoot. The dirt under your fingernails when you put your garden to bed, and the warm mug that awaits you when you step back inside. 


Maybe all of these things aren't directly food or eating related, but they all play a role in how we experience the world around us, and they all, eating included, help us to connect with that world. 

In our family, keeping kosher is also meant to help us connect in a deeper way, through our food, to our environment, and of course, to God. But you can do that even if you don't keep kosher. You can do it just by being present as you savour a meal, or enjoy a brisk walk in the glow of a late afternoon. 


As you prepare your tables for the feast that many of us will be sharing with loved ones next week, take some time to remember those connections. Try for a day or a week to take them out of the I-take-these-things-for-granted closet in the back of your mind, and embrace them. 


It will make the food taste even better.


Saturday, November 12, 2011

A Sweet Weekend

It's funny how when autumn comes to the NW, people really get good at holing up inside in the best sort of ways. Movies, too many library books, and of course, tasty food. I am totally guilty of this. I think I have about 4 library books right now, which is way more than I can read in 3 weeks. Good thing now I have a lot of treats to go with. Hmmm...

Ok time to be serious. One thing Seattlites are good at this time of year (at least some of us) is sharing what we have. 

Today I got to take part in Will Bake For Food, the second annual even to help raise money and nonperishable donations for the Seattle and King County Emergency Feeding Program. It was very successful, and it was even more fun. 


There were so many amazing bakers and bloggers in attendance, and of course a lot of very kind patrons. Some of whom were so excited to get there and get goodies that they were lining up well before 11 o'clock, the official start time of the event. We got to schmooze and check out each others wares before the public started to show up, which The Jennys (from here and here) finished up organizing and getting everybody set up. And, at the end we got to swap out any leftover treats from the ones we had been eyeing along the way. 


This was not leftover. It went rather quickly.


I tried way too many goodies, and I might have come home with more than I started with (well maybe not that much considering I brought 4 dozen cookies and a whole bundt cake, but lets just say it was like a gourmet second Halloween). When the boys asked me if we could have dessert after dinner tonight, I almost couldn't even answer I was so sweeted out. Good thing I had a big salad with dinner.  (Tomorrow I'm going to do even more balancing by taking a class at The Pantry to learn how to make amazing pizza a la Brandon Pettit from Delancey. Yay!)


Of the two things I brought, the one that most intrigued people was the Chai Spice Snickerdoodle cookies. The conversation I had with myself when I tried them (I had to eat the ugly ones, quality control) was pretty much this:

"Shut up. These cookies are awesome"

And then there wasn't any more talking because I had told myself to shut up. Basically so I could, you know, eat more cookies. 

That's a wrap.
My "sales" force.


So here is the recipe, promised to a few lucky folks today who got to pick up cookies from me in person, and gladly shared with all of you. And no, drinking a cup of sweet, milky chai tea with these cookies would not be overkill. I promise.


Chai Spice Snickerdoodles
(makes about 2 dozen, using a # 30 scoop)

1 cup (2 sticks) butter, room temp
1 1/2 cups sugar
2 3/4 cups all purpose flour
2 tsp cream of tartar
1 tsp baking soda
2 tsp ground cinnamon
1 tsp ground ginger
1 tsp ground cardamom
1/2 tsp fresh ground nutmeg
1/2 tsp ground allspice
1/4 tsp salt
2 large eggs
2 tsp vanilla extract


for the sugar to roll the cookies in:


1/4 cup granulated sugar
1 tsp each all the above spices, omit allspice


Preheat oven to 400ºF. This might sound crazy for a cookie, but it will allow the cookie to bake without getting too brown and crispy. Trust me. Put one rack in the top 1/3 and one in the bottom.


Whisk together all the dry ingredients in a bowl and set aside.

Cream the butter and sugar together until very light and fluffy. Add the eggs one at a time, then the vanilla, mixing completely between each addition, scraping down the bowl as necessary. 


Add the flour mixture in 2 or 3 batches, making sure to scrape down the sides of the bowl between each addition. Mix just until combined.


Scoop. You may need to chill your dough for a bit if, unlike me, your kitchen is actually warm.  Roll each cookie completely in the sugar mixture before placing on parchment lined baking sheets, just 6 to a sheet. Bake about 6 minutes then rotate and bake for 6 more, adding a minute or two to the end if they are still very soft in the middle. They will not brown very much, which is just what you want for them to stay chewy. Cool for a couple minutes on the pan before transferring them to a rack to cool completely. Or not, because you probably won't be able to wait that long.

Sunday, November 6, 2011

It Comes Natural

I don't think I'm a natural born writer. I've never been one to keep a journal, and even keeping up a blog once a week or so is tough for me. I just never feel like I need to write. Take pictures or eat a cookie, sure, but writing is something I have to put a little effort into.


But there are things I can say I am a natural at. I am a natural blonde. I am a naturally good swimmer. I have a natural green thumb. And, I like to think that I am naturally gifted with a sense for what tastes good together, and also for having a sense for what a set of ingredients will taste like once they are combined. This last week a friend commented that he thinks I have really honed that sense of taste, which was a very sweet compliment (Thanks Mike!) and also got me thinking about if I am using that skill to it's fullest potential. 


I want to hope that I am, but in reality I probably am not. I mean, are any of us really using all of our skills to their fullest potential? Not if we are being honest with ourselves.


But the good news is that that means we have potential that is untapped, right?


I am good at using my skill at eating chocolate to it's fullest potential.


I don't mean to give a pep talk, but I guess I am feeling like I need one myself. I have recently had a lack of passion for what I do with food. It's such a big part of my life, both for pleasure and necessity, as well as what I do for a living, that I guess I have lost a little bit of the magic. Lately, It's been hard for me to get excited about food. As they say, this is probably a #firstworldproblem, but it's my problem and it has been putting me into a sort of melancholy. 


So to help me get out of my funk and to hopefully get me out of my "I'd rather stay home and not talk to any strangers" comfort zone a little bit, I'm going to be baking for a good cause. Next weekend is the Will Bake For Food bakesale, and I volunteered to bake some goodies and hang out at the sale for a while. There will be lots of other, much more well established bloggers (that's where the nervousness about talking to strangers comes in!), and everyone will be contributing something delicious for you to take home. 


This past Friday I ran a test for what I thought I might make and while it was very good, I think I'm going skip it in favor of something a little less fussy. It was a twist on something I dreamed up a few Thanksgivings ago--a dark, creamy pumpkin ganache tart--that turned out to be just too rich for it's own good. I wanted to make it lighter and less intimidating. So, I turned it into a mousse, letting those amazing taste buds guide my stirring hand. 


I hope I get my mojo back soon, because it makes me feel a little heartbroken to be missing it at this time of the year, when so much revolves around breaking bread with others. In the meantime, I guess I'll take someone's (my husband's) sage advice and "fake it till I make it."


Pumpkin Mousse Pie
serves 8-12


For the filling:
11 oz ganache, melted but cooled
1 pumpkin puree
1 cup heavy whipping cream
1 tsp ground cinnamon
1/4 cup sugar
pinch salt


For the crust:
1 cup hazelnuts, oven toasted and skins removed.
1 cup cake or cookie crumbs, toasted. Graham cracker crumbs would also work.
2 Tbsp sugar
1/4 cup melted salted butter


For this recipe you will need an 8" or 9" springform pan.


For the crust: 
Preheat oven to 375ºF.
In a food processor, grind the hazelnuts until they resemble crumbs. Add the cake or cookie crumbs and the sugar and pulse to combine. Pour into a bowl and mix in the butter. I like to use regular salted butter for this, I it helps the hazelnuts a bit. You can use unsalted if you prefer. Press into your pan and using a small measuring cup or juice glass, press some of the crust partially up the sides of the pan, making a thin crust. Bake for about 20 minutes, and let cool completely while you mix the filling. 


For the filling:
When the crust is ready, assemble your mousse. Stir the pumpkin and cinnamon into the ganache. You might want to add more cinnamon if you really like that flavor combo, as what I have here is very delicate. Whip the cream to a soft peak then add the sugar and salt and whip till it holds a firm peak. Next, fold in a bit of the ganache mixture. Then pour the cream mixture back into the ganache and fold until you see no streaks of either cream or ganache. Pour it into your mold, and level with a small offset spatula or the back of a spoon. Chill for at least 2 hours before serving.


A note about the ganache: I often have ganache in the fridge leftover from other baking projects and this was one of those times. If you aren't the type to have such a decadent leftover, you can make it from scratch easily using a recipe I'll give you below. We like to warm it a little bit and smear it on a graham cracker as a sweet treat, or put it into heated milk to make a delicious hot chocolate...


Semi-sweet ganache:


10 oz good quality semi-sweet chocolate, chopped into pieces about the size of an almond
1 1/2 cups heavy cream
2 Tbsp unsalted butter


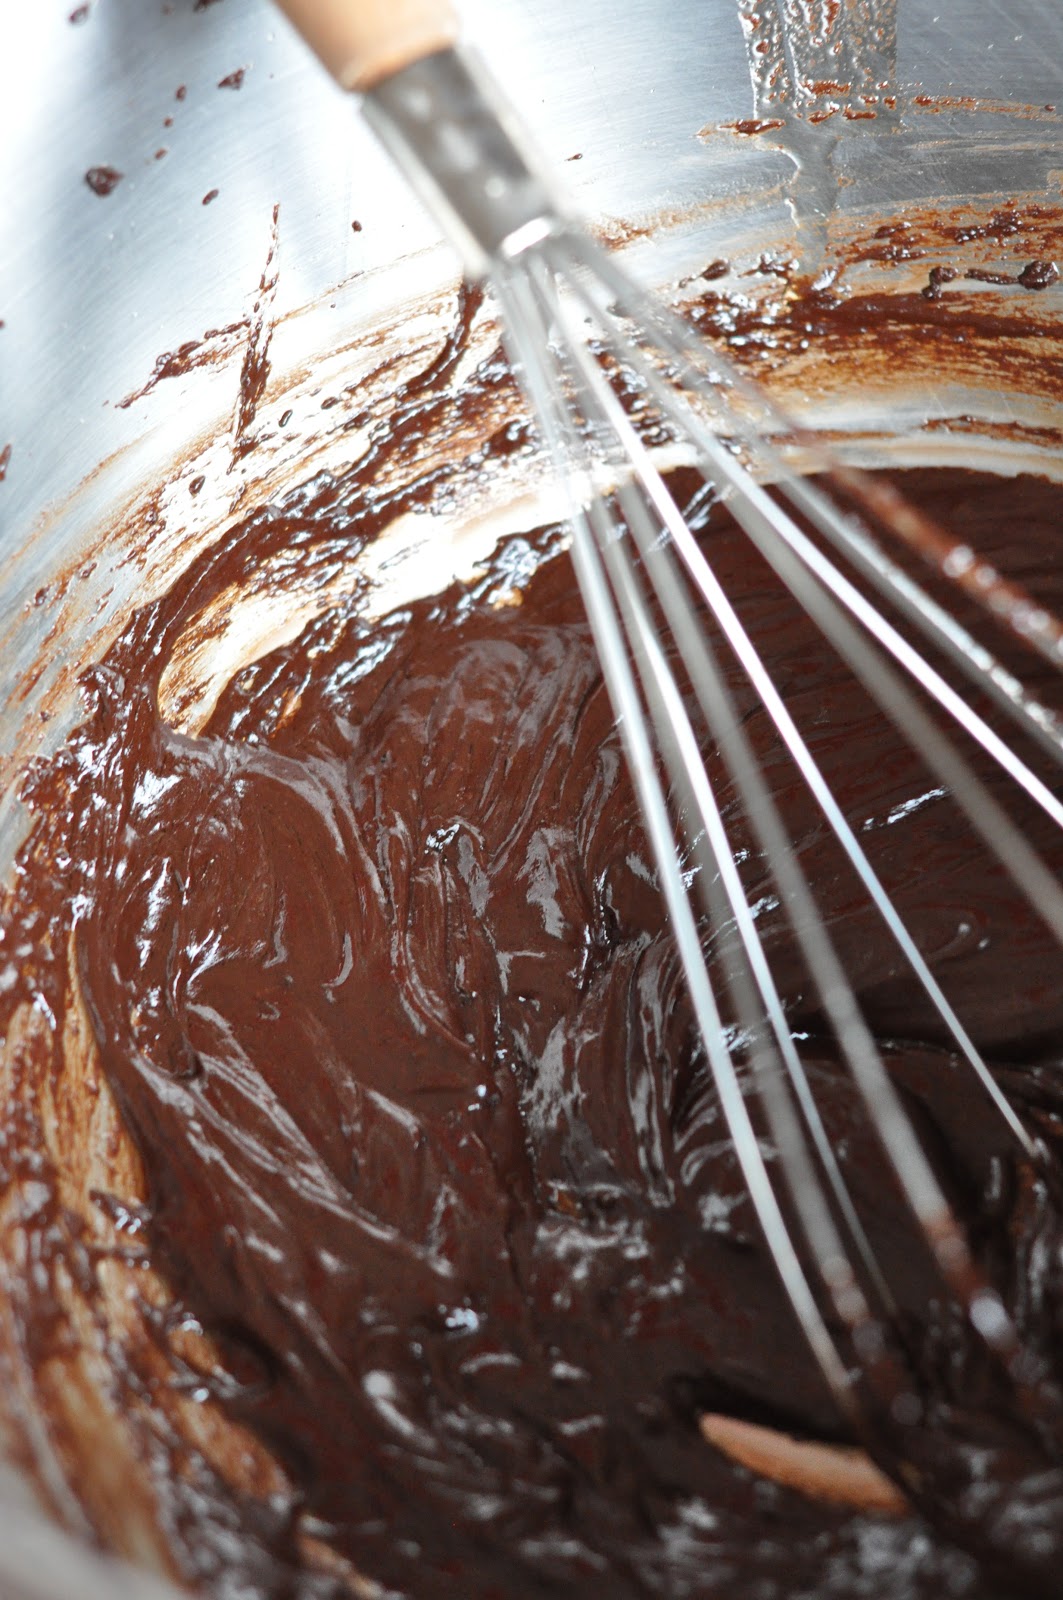
Place the chocolate and butter into a heat safe bowl. Using a heavy bottomed pan, heat the cream just to a very light boil and immediately pour over the chocolate. Let it sit for several minutes and then with a whisk, slowly incorporate the chocolate and cream. Start in the middle of the bowl and use very small movements, gradually working your way to the outer edge of the bowl. This helps to minimize the incorporation of air into the ganache for a smoother finished product, which is helpful if using it as a filling or icing.

Thursday, October 27, 2011

A San Francisco Treat

(Sorry, I couldn't help that one)


While we were in San Fran last week I got the chance to do something I am totally jealous of my past self for getting to do, which is eat and cook with very fresh citrus fruit.


Our first night there we walked up to a lookout point in the neighborhood were our friends live, Cole Valley. I never caught the name of the lookout, but it had truly breathtaking views, especially since most of the time we were In San Fran we had very clear and sunny weather, and that evening was warm to boot. The perfect antidote for what the weather's been like here in Seattle. 


On our way back down the hill to order dinner (awesome and easy Thai, because Thai is never wrong.) I spotted something you would never in a million years see in Seattle, even if we did have actual summers and decent autumns: a fruiting Meyer lemon tree. Though by this point it was quite dark, I peered in among the branches and felt out some of the fruits that looked yellow in the glow of the streetlight. I tried to twist off a fruit I thought was ripe, but it wasn't quite there yet, or so I guessed since it didn't easily come off. I left it alone and went on my way with an added spring in my step.


I am going to share with you something about myself that you might not have know. I am a shameless urban fruit "forager" and while mostly I only take fruit that is on public or abandoned land, I will occasionally venture onto the more private side of things and pick fruit that is very obviously going to waste. These lemons were just at the tip of someone's yard. A very very wealthy person's yard. The tree was very well pruned, in a yard that looked pretty well manicured, and it was chock full of fruit that was ripening or ripe. Clearly, I told our hosts, they were not going to miss a lemon or two. Or a dozen. Right?


The next morning I went to the lookout by myself, early, in the fog, to take some pictures and see the city in a different light. I scoped out the tree again, this time with the sunlight on my side, and found that there were indeed quite a few ripe lemons hanging out in this tree. Hooray!


The day before we were set to leave was pretty busy. There were two very small earthquakes (exciting!) and it was the start of the Jewish holiday Simchat Torah (awesome!) which we celebrated by dancing with Torah scrolls and drinking tequila in a Baha'i Temple (drunky!). We ate dinner at a food truck gathering to make the food trucks in Seattle blush with inadequacy (yummy!) and had an awesome burrito in the Tenderloin of all places (wacky!). 


We were supposed to pack for home and then be at a friend's house for breakfast the next morning at 8, before tooling around and then heading to the airport by 1. So of course, it was the perfect time to go steal forage lemons and then start an involved canning project which we maybe didn't have all the right ingredients for.

Aviva and I bundled up a bit (it finally was a little chilly in the evenings) and decided to take a trip up to the lookout one last time. And we took with us a cloth sack, "just in case" we found something worth bringing home. Maybe we would get lucky and there would be enough ripe ones to make a quart of preserved lemons. I maybe got a little carried away and we ended up with quite a few lemons, all without even a soul finding out what we were up to. It was slightly exhilarating, or maybe that was just the heady smell of the fruit wafting from the cotton bag as they jostled around in there while we practically skipped back home. 


Anyway, we ended up having enough fruit to make a quart of preserved lemons, and a batch of ginger lemon marmalade. We cheated and used a couple of oranges and some lemons that were sitting around getting old. But we had a few fruits that were still sort of green so we sorted those out to ripen and use later, and there were even enough that I got to bring a couple home. As I peeled the zest from the fruit to make the marmalade, I couldn't help but taste the fruit itself. If you've never had fresh citrus like this, I highly recommend it if you get the chance. It made me insanely jealous of those Californians, even if I do love my hometown to pieces. 


I don't own a copy of the Ball Book of Home Preserving, but that is the book we took both recipes from. We followed the marmalade pretty closely, substituting a couple of oranges for part of the lemons and halving the ginger, since that's just what we had on hand. We also used raw sugar instead of the usual white, which I think played off the ginger very very nicely. I have to remember that trick for other jams. 


For the preserved lemons we substituted the bay leaves for fresh basil, and added a star anise. Basil and lemon are so nice together, and while this makes it a bit less traditional, I'm confident that the flavors will work well together and be great. I just hope the basil doesn't overpower the delicate flavor of the Meyer lemons. We'll see! 


P.S. We live tweeted our canning adventure, but if you missed it and are using twitter, you can follow me @infamouspastry and get updates for future adventures!

Sunday, October 23, 2011

Heading South for the Winter

We spent most of this last week vacationing in San Francisco, which might be about as far south as we get this year. (I'm still going through the 600 or so photos we took in 4 1/2 days, so this post is going to be just a recipe.) It was beautiful and so much fun and I really hope we get to go back soon.

We've been trying to get there pretty much since we met, and now, 6 years later, we finally found an excuse to go. We have lots of friends down there, and Joe's been several times, but I'd never been. Then, in August, some very close friends of ours moved there and we decided to head down for a visit pretty much as soon as they could be settled in. 

Since the plane ride was pretty short, having Lilli in tow wasn't a big deal, but we were on the plane right at lunchtime. We all know how abysmal airplane food is, if you are even lucky enough to get any, so I wanted to prepare some good snacks ahead of time. If only I could have had more time! I guess hastily made peanut butter sandwiches and sliced apples are better than nothing. Oh, plus I was a little bit hungover. Turns out I'm getting to old to mix champagne and tequila and then pack until midnight. 

I made some peanut butter cookies, as a sweet treat. Mostly because I saw that post and COULD NOT STOP thinking about how good those sounded and how long it had been since I'd had a peanut butter cookie. But, I forgot them. I did remember the present I made for our hosts, green tomato bread. I made a gluten free version since Mathew is gluten intolerant.  

I used a recipe for zucchini bread, and added extra spices. I didn't take pictures, because it was that kind of weekend. 

The bread is spicy in a very subtle way. It's got a moist, tender crumb, like most quick breads, but it also sports a nice crunchy exterior. It's superb with butter of course, but try it with almond butter or sharp cheddar and then you really have yourself a snack. Apparently it is some of the best gluten free bread our friends had ever encountered, because they were raving about it. Anyhow, I hope you enjoy it as much as they did.

Green tomato bread with Yogurt and Ginger
adapted from Bon Appetit, makes one large loaf or two smaller loaves

2 cups grated green tomato, excess liquid drained off
3 large eggs or 4 smallish ones
1 1/2 cups sugar
1/2 cup greek yogurt
1/2 vegetable oil (you can use all yogurt if you like)
2 1/2 cups all purpose flour or gluten free all purpose flour mix (if you used GF mix, add 1/2 tsp xanthan gum to the dry ingredients)
1 tsp baking soda
1/4 tsp baking powder
1 tsp cinnamon
1 tsp ginger
1 tsp salt
1/2 tsp allspice

Heat oven to 350ºF. Coat your pan or pans with butter or a non-stick baking spray.

Combine the last 7 ingredients and whisk to combine. Set aside.
In the bowl of your stand mixer, or with an electric beater, whip the eggs until foamy, then slowly add the sugar and continue to whip until the mixture is thick and light in color, about 4 minutes. Add the yogurt, and oil if you are using it, and mix until completely combined. In 3 batches, mix in the dry ingredients on low speed. Fold in the tomatoes and pour into your prepared pan(s).

Bake for about 35 minutes then check, rotating if necessary. Continue baking until your loaf or loaves pass the toothpick test. The top will be a nice golden brown, and look sort of dry and crusty. Cool on a rack for about 5-10 minutes, then turn out of the pan and cool completely. Store wrapped in foil.


Thursday, October 13, 2011

A bumper crop

Next week we are going to be out of town, so of course, this week is the week that I have two largish orders for custom cakes, a bushel of tomatoes to deal with and 75 lbs of fruit coming on Saturday.


The cakes are easy--they require a bit of work, but should come together smoothly and almost without thinking. That's my job, after all.


The fruit, 50 lbs of apples and 25 of pears, will probably keep just fine in the cool basement for the 5 days we will be gone, so long as the cat doesn't suddenly develop a taste for tree fruit. I just hope those raccoons don't figure out how to get in the house...


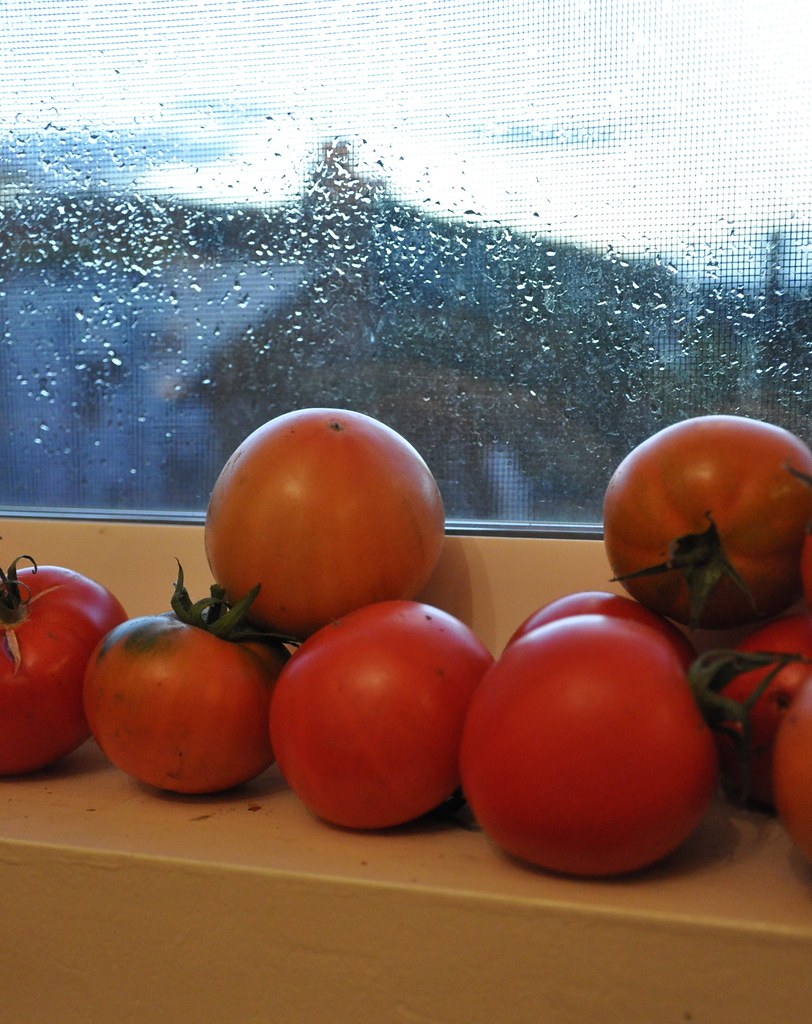
The tomatoes, on the other hand, can't wait. It's been very rainy here this week so they all had to come in out of the downpour one way or another.  There were about 10 lbs of green ones, 5 or 6 lbs of ripe ones, and a couple of lbs that are halfway in between. Those ones, I don't know what will happen to.  And I'll have no problem getting rid of most of the ripe ones. Even Lilli eats at least a tomato a day.


But the rest, I found uses for with just a little bit of research and brain power.


I made tomatoes 5 ways this week, over the course of 3 nights.


First, I put up 4 quarts of green tomato mincemeat, made with honeycrisp apples and some asian pears I helped harvest from a neighborhood tree last week. Plenty of currants and spices, some lemons and sugar, and sometime this winter this delicious mix will meet it's match in philo or pie dough. 


Next, I started a couple different batches of green tomato pickles. One that needed 24 hours; and one only 12. One that had curry seasonings and mustard and sugar; one that was laced with garlic and mint and basil and chili.  One that is a simple refrigerator pickle and one that needed to be processed. I think the 2 probably couldn't be much more different from each other, but each will be much appreciated in their own way. 


Wait, let me take a step back. The very first thing I did, even before the mincemeat, was start some oven dried tomatoes. And tonight I finished that project, a tomato pesto that I borrowed from Ashley Rodriguez who writes one of my favorite blogs, Not Without Salt. I have never met a recipe from her that I didn't like, so while I didn't have time to test out this particular one beforehand, I knew it would be great. I decided to make a much larger batch than her original recipe calls for, because of the amount of ingredients I had. I altered it a bit also, so that I could freeze it and use up what I had instead of procuring new things.


Drying the tomatoes turned out to be a frustrating thing for me, because I lack patience. They took much longer than I thought they would, so I got them most of the way there and then gave up. I figured since they weren't being kept as a dry ingredient anyway, it wasn't a big deal. 


The pesto turned out amazing, but, as with all things gooey, the pictures did not. Especially not in my night kitchen. 


Chatting with the cat.

She likes to be part of the action.

And after all was said and done, I still have a few nice green tomatoes to make into a tasty quick bread as an airplane snack. 


Green Tomato Mincemeat
makes 4 quarts


4 quart jars full of whole green tomatoes, rinsed
1 ¼ cups vinegar or 1 cup vinegar and ¼ cup lemon juice
4 cups currants or raisins
2 lemons seeded and chopped up fine in a food processor
2 quart jars full of apples or apples and pears, quartered, skins removed, and sliced thinly
1 tbsp cinnamon
1 tsp ginger
1 tsp allspice
2 tsp salt
2 cups brown sugar
2 cups white sugar

A note about the fruit measurements. To measure the tomatoes, I packed them into a quart jar as I cleaned and de-stemmed them, stopping when I got to 4 jars worth. For larger tomatoes, I halved or quartered them to make more fit, but there was quite a bit of space in between the them, so don't worry about packing the jars too full.  For the apples I filled the jars as I sliced the apples, and for these I did pack them in rather tight.

Chop up the tomatoes in a food processor, pulsing so that they don't just turn to mush. You want the pieces to be roughly the size of a large lima bean, give or take. Pour into a large nonreactive pot.

For the apples and pears, I used one of those handy apple core turning machines. It peels the apples, cores and slices it all in one motion. (If you don't have one and ever find one at a thrift store, buy it. You will thank yourself the next time you need to do anything with apples in large quantities.) I just cut the whole apple in quarters after putting it through the machine. If you don't have one of these, peel the apples, quarter them, and slice them thin. 

Add everything else to the pot, stir it up, and bring to a boil. Turn the heat down to medium and cook for about an hour, stirring occasionally, until the mixture is thick and the fruit has softened. The color will be much more uniform at this point as well.
Clean and sanitize 4 quart jars, and fill using a canning funnel, leaving 1/2" headspace. Remove air bubbles with a thin rubber spatula and adjust filling level. Wipe the rims clean with a damp paper towel and seal. Process in a boiling water bath for 25 minutes. You might have more or less filling, depending on how long you cook it down. As long as your jars are completely full you can process them. Otherwise store the jars in the fridge and use within a couple of weeks.


And in case you didn't see this floating around the internets, here's my real motivation for canning and preserving:


Saturday, October 8, 2011

The Easiest Challenge of the Season

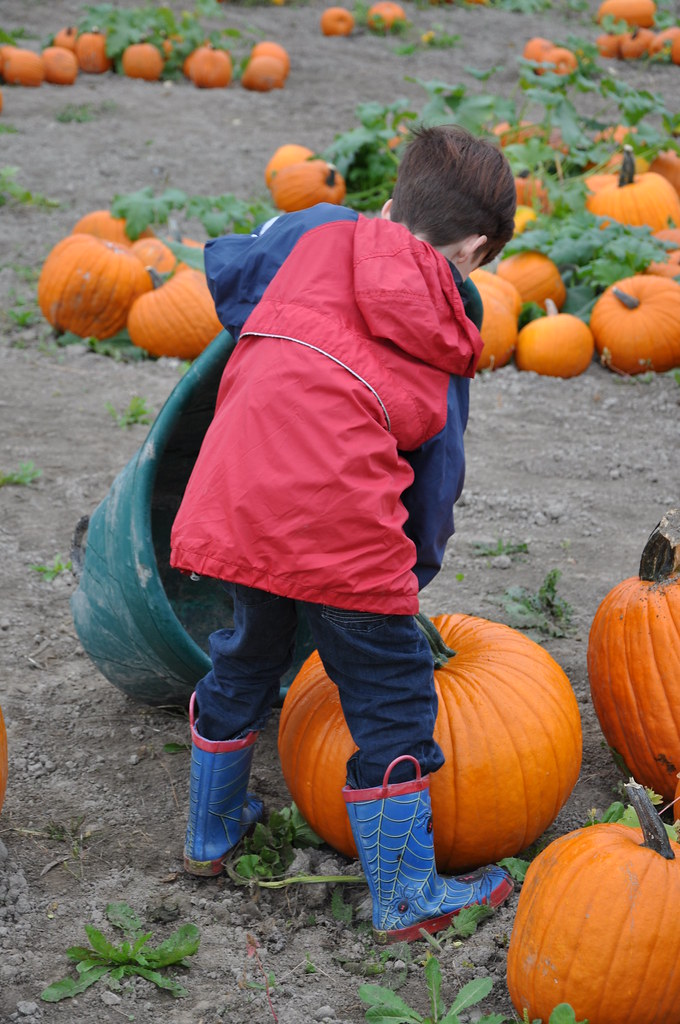
I am going to come right out and say it. I really really love fall. I love all the spices, I love drinking hot things, I love soup. I love the leaves changing, I love the pumpkin patch, I love windy rainy days. And I love pumpkin. 


A week or so ago I challenged myself to something that I knew wouldn't be very challenging at all. I went with it anyway, because sometimes you have to let yourself cheat. I ate something pumpkin flavored everyday. Sometimes more than once a day, because I'm an overachiever like that. (Bonus points for being an overachiever and a slacker at the same time.) I also cheated by letting myself use canned pumpkin. Mostly because it has better flavor than freshly made pumpkin puree. I don't know how they do that, but there it is.


Anyhow, every recipe was a success, except for one. Turns out, it's hard to make a pumpkin coffee at home with only a french press. 


Here are all the things I made, in no particular order:

  • Cottage pie with Pumpkin gravy
  • Pumpkin spice challah french toast (made with a thick pumpkin custard and of course, cream)
  • Pumpkin molasses waffles (just add pumpkin and spices to the batter, and sub sugar for molasses)
  • Pumpkin curry soup
  • Pumpkin mac'n'cheese (I left out the maple syrup and topped it with panko before baking)

I just discovered another way I cheated. I didn't make a new thing every day. Somedays, we ate leftovers. No big deal. I think tomorrow I will make pumpkin oatmeal for breakfast to make up for it.


Anyhow, you should try an easy challenge like this. It's guaranteed to be more fun than my current challenge at which I am so far failing miserably (because I haven't even started), the 200 sit-up challenge. 


Cottage Pie with Pumpkin Gravy
Serves 4-6


1 lb lean ground beef or other ground meat
1 cup frozen peas
2 or 3 carrots, cut in 1/4" coins
fresh ground nutmeg, to taste
salt and pepper, to taste
pinch sweet paprika (optional)
vegetable or chicken stock, about 2 cups
1 cup pumpkin puree


About 3 or so cups of your favorite mashed potatoes for the topping. Depending on your casserole dish you might need more or less. You want it to be about an inch thick. I think I used 3 russet potatoes for my 9" casserole dish.


Preheat oven to 350ºF. Brown meat thoroughly in a shallow saucepan and set aside. Drain on paper towels if it's greasy at all. In the same pan, add carrots and a pinch of salt, and enough stock to loosen the browned bits from the meat. Add peas. Stir it around for a minute, then add the pumpkin and the rest of the stock. You want it to be about the consistency of a thick soup, because I didn't add any thickener. It will cook down a bit in the oven. At this point taste for salt and pepper, add paprika if you're using it, and add nutmeg to taste. I might have added some onion powder or allspice too, I can't remember :(


Once the mixture comes to a boil and the carrots have softened a bit, about 5-7 minutes, add the meat back in and let heat again for a minute or so. Pour the whole mixture into your casserole dish and top with the mashed potatoes. Grate a little bit more nutmeg over the top. Bake for about 35-40 minutes, until the mashed potatoes are browning around the edges and the gravy is bubbling out a bit. 


This casserole is something I made in the morning and then had my husband pop in the oven in the afternoon while I was out, so I know that will work too if you need it to. I would say you could make it a day ahead if you wanted.