Showing posts with label food. Show all posts

Monday, January 2, 2012

Traditions Made New

A couple of years ago we started having people for New Year's Day brunch, which was I guess some sort of weird indication that we were becoming grown ups or whatever. It was the year after we bought a house, so maybe that had something to do with it. The first couple of years we spent the entire day totally hungover, but the hangover has slowly become less and less. 


This year instead of a brunch I prepared a four course dinner for a few close friends, and we just ate and drank and ate some more, and then we watched Bridesmaids. It was one of my favorite NYEs ever, and I've had some pretty amazing ones.


The next day was the birthday of my Aunt, so I made a cake for her and took it to a large family gathering at my Dad's instead of the brunch. The timing was perfect to have the burden be on someone else to host a big New Year's Day event, because of how busy we've been this month.


We spent the afternoon in the sun: a very welcome change for the start of the year. One that I hope will be a good sign of things to come. It's been a dark December.


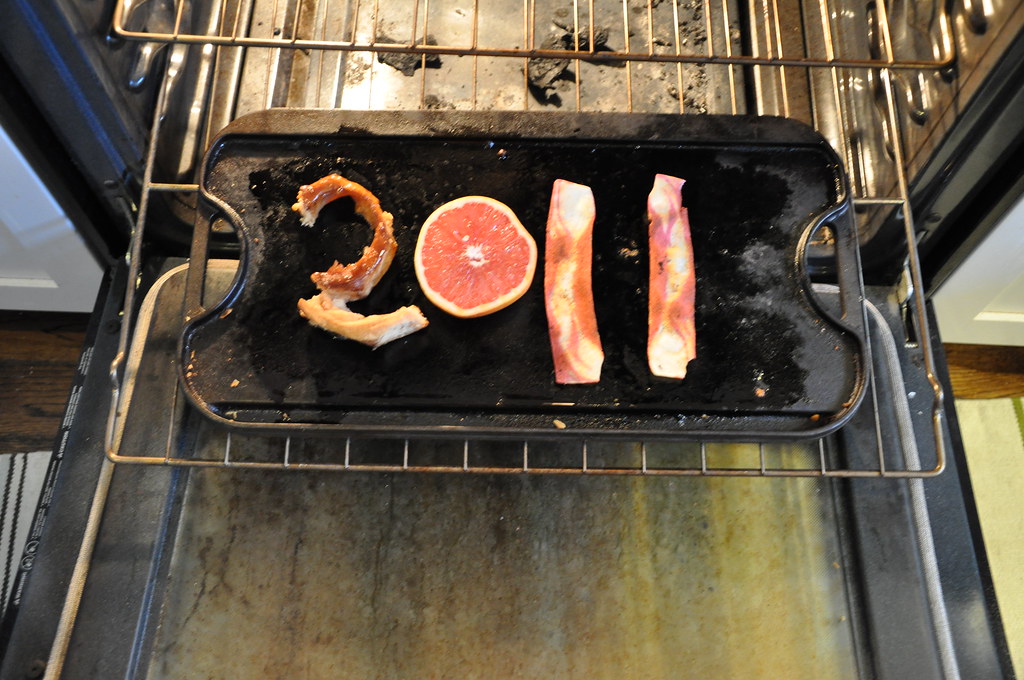
One thing this means we missed out on was the annual NYD tradition that started that first year, one we like to call "Eat the Year." It is pretty much what it sounds like. We make an edible "20**" and then we consume it as a group. There has also almost always been some sort of skype/gchat thing happening, the most notable being a bi-coastal dance party. Over gchat. Moving on.


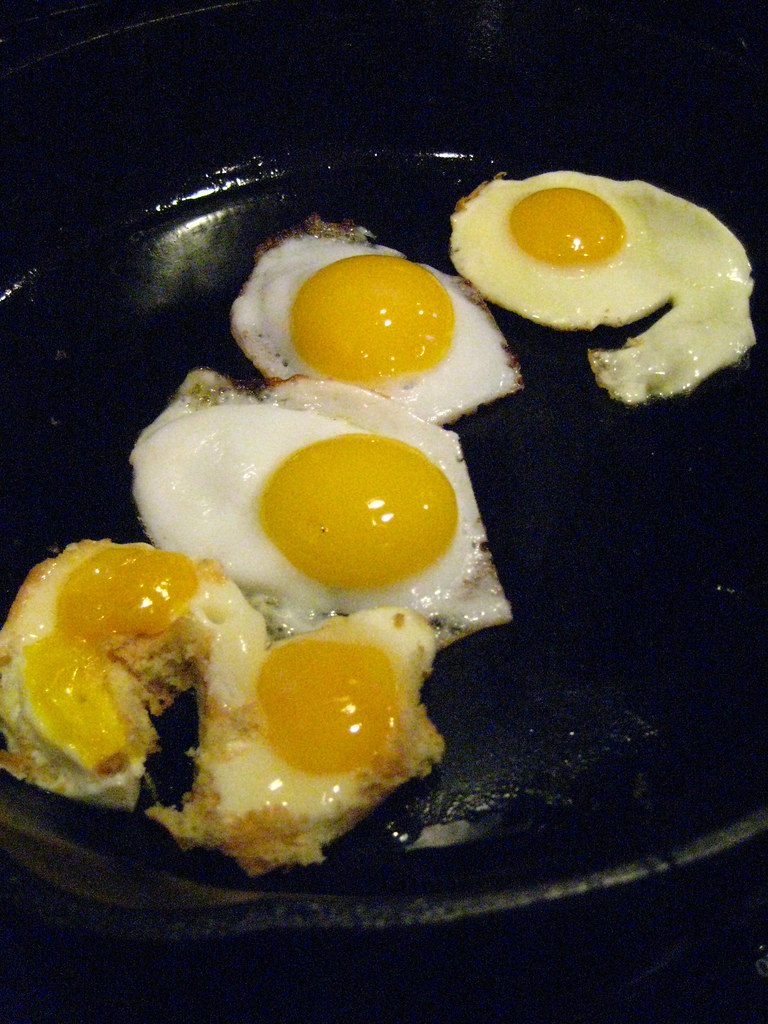
Original Eat the Year. We were a little egg crazy: new chickens, and someone brought duck eggs.


Well this year we did "Eat the Year" over gchat with some of the original creators and it was great. We had to eat all of it ourselves, since we were the only ones here, but it was good just to see the smiles on those friends faces as we just said hi for a minute and talked about what they year might bring (building more shelves, obviously). 


Good bye, 2011. You rocked.

For me, this simple tradition is just a way for us to mark the start of the year with the people that really matter to us. We feed our bodies with the food, we feed our heads with the idea of a fresh thing, and we feed our hearts and souls with a meal made with hope and love and joy in mind when it is made. It's nourishing all around. 


I hope the start of your year was as joyful and full of love as mine. Maybe this year you will start a new tradition, or find a way to keep up an old one that maybe needs some of the dust brushed off of it. And however you spent the time ringing in 2012, I hope it is the best year yet.


Sunday, December 25, 2011

A Latke Primer

I don't really know anything when it comes to most "Jewish" food. I don't do gefilte, I dislike both pickled herring and lox, and I've never made most of your Bubbie's famous dishes. But give me a frying pan and some potatoes and I'll make you a latke to write home about. 


We got a piano for Hanukah!
Two nights down...


Since there are still a few days left of Hanukah, and I've heard from a couple of people that they can't ever get their latkes quite right, I decided to pass on my humble knowledge of this famous fried food. I've also had Joe tell me he thinks I was born with a Jewish soul simply based on how well I cook traditionally cultural Jewish food even when I've never made it before, but I guess that's just his opinion.


There's really nothing worse than a mushy, soggy latke. Or one that falls apart in the pan and then just ends up in a million burnt shreds. Or one that's too dry because the potatoes were grated too fine.


In other words, there's a lot of ways to get them wrong. But I'm going to help you get them right, at least the way I do it. Your Bubbie may or may not approve.


Breaking my own rules: not enough onion :(


There are a couple of key steps:


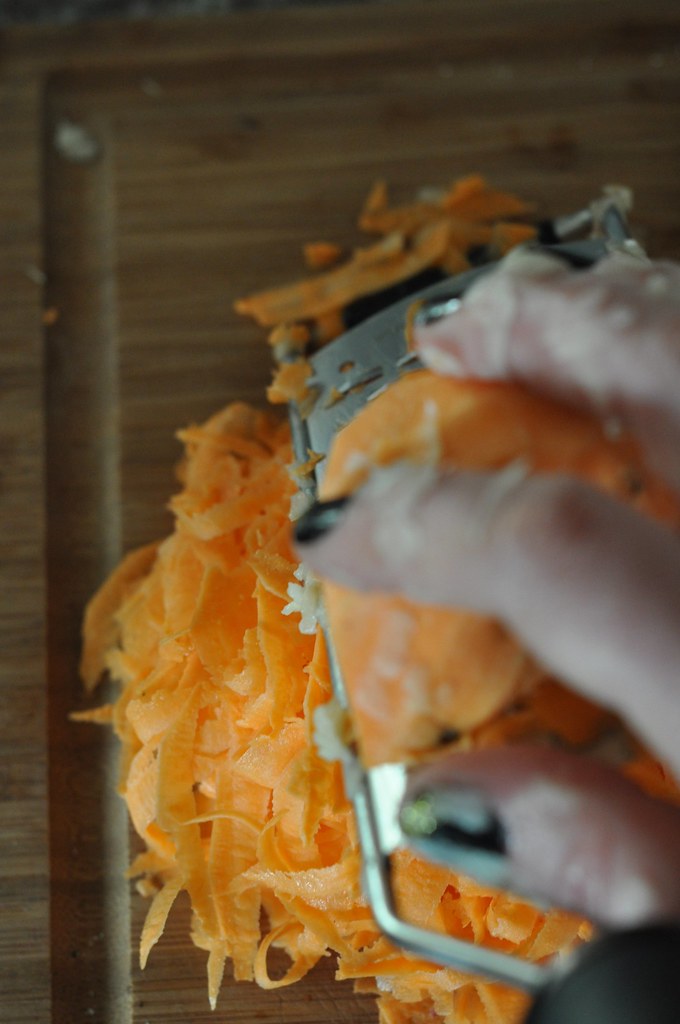
Grate the onion first. The juices from the onion will help keep the potato from browning as you grate it. I usually grate about 1/4 of a medium largish onion per 3 potatoes or so. And every 2-3 potatoes I mix the onion and potato shreds together to coat them all with that onion juice. Don't grate everything too fine or too big either, or your'll end up either with mush or with latkes that don't hold together at all. 


Don't do your nails fancy before this: the fancy won't survive.


Add the salt before draining. This helps release any excess juices from the potatoes, allowing you to really drain them well. This leads to the next step which is:


Drain the mix for longer than you think is really necessary, over a bowl. Start early, and let your shredded onions and potatoes drain over the bowl you will mix everything in for at least an hour. Every 20 minutes or so, go over there and really press the mix down into your colander to squeeze out that juice. Do it again right before you mix up the batter.


Dump off all the juice but leave the starch! At the bottom of the bowl that you have been letting your potatoes drain into, there will be a slime of potato starch. Leave it there and mix everything else into it. This extra starch really helps to bind together the rest of the ingredients. And speaking of starch:


It doesn't look pretty right now, but whatev.

I use flour instead of matzoh, but either one is fine. Finer starch will absorb the excess liquid more quickly.  A couple of Tbsp for every couple of potatoes is a good rule of thumb.


Ditch the egg whites. They don't help bind all that much, and they have a lot of extra water content, which you just spent an hour getting rid of. Keep your whites though, to make meringues or for egg white omelets if that's your thing. Use two egg yolks when your recipe calls for one whole egg, or for every 3-4 potatoes. 


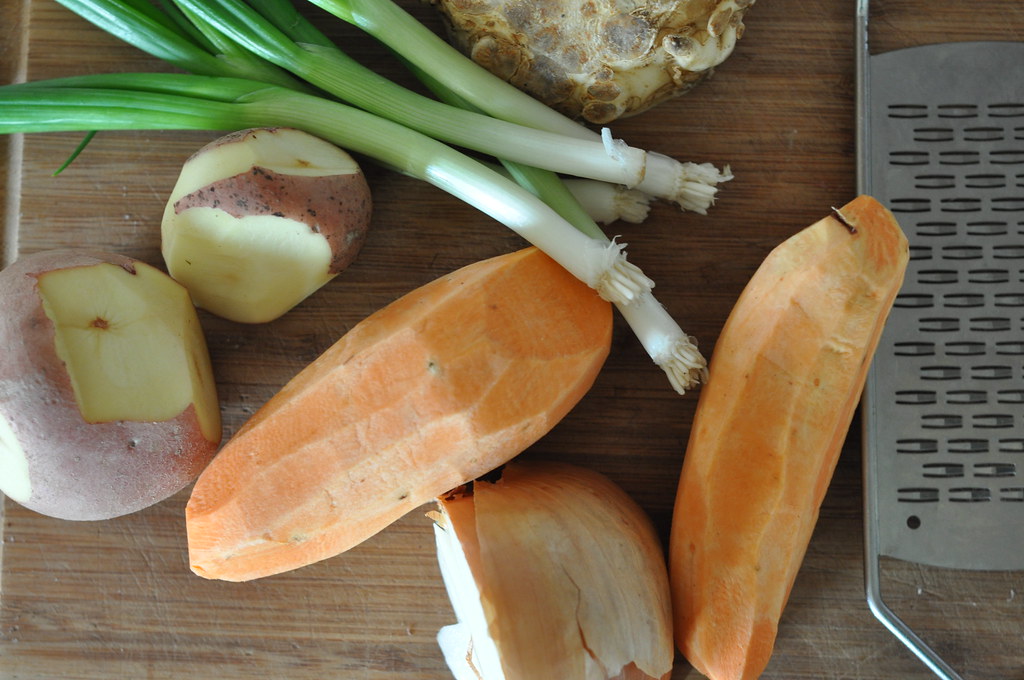
Add extra stuff if you want, just keep the ratio of potato:onion:starch:eggs in mind. I like to add green onions, a little cheese, sometimes celeriac or apples, carrots or sweet potatoes. Mix it up and add different spices too. I've seen good recipes for samosa style latkes and dessert latkes, and even greek inspired ones served with tzatziki. 


Get the oil good and hot before you start cooking, and don't be afraid to use quite a bit. If your pan starts to look dry between batches, add a bit more and reheat before adding more latkes.


Get messy. It's better if you can hand form your latkes: they'll be thinner and crispier than if you just drop a big glob in the pan. I take about a palmful of batter and form it into a disk, then drop it into the oil. After I've filled the pan (but not too many! You don't want them to be crowded or they'll just steam.) I go back and lightly press them down with my spatula.


Cook until golden brown and then flip, just once. If they start to burn before you think they're getting done inside turn the heat down a touch. But don't worry too much about raw insides because you can always finish them in the oven. If you flip them too many times they'll start to fall apart no matter how good your batter is.


Drain as you go, onto a paper towel lined sheet pan in a warm oven. They'll stay nice and crispy for long enough to fry up all the batter so everyone can sit down together.


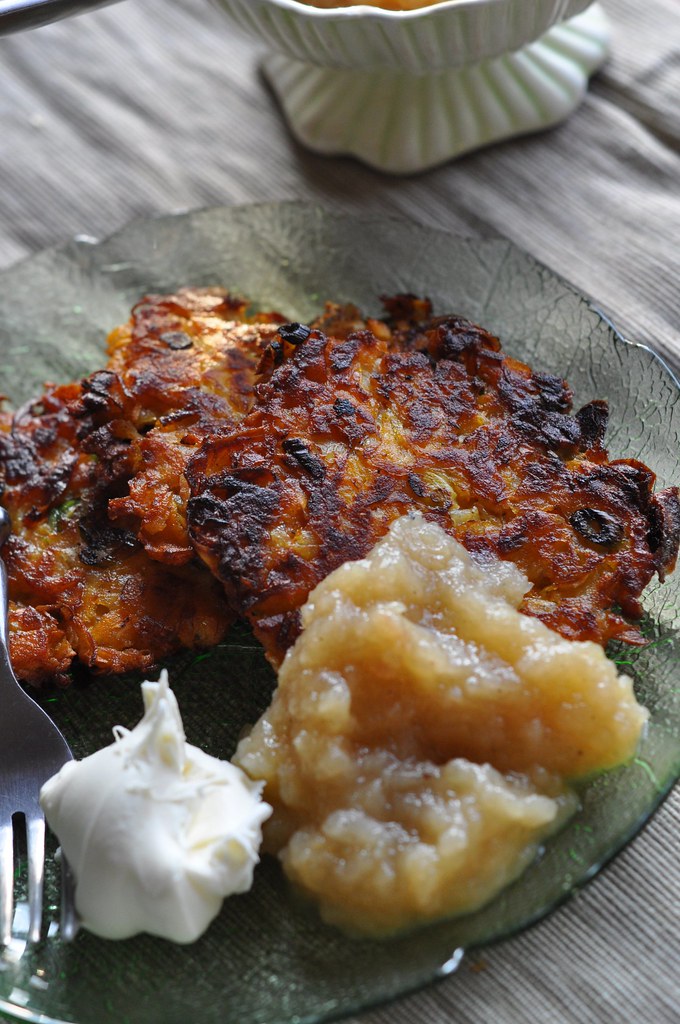
Sweet Potato Latkes with Cardamom Applesauce and Mascarpone


Monday, December 5, 2011

Wild Beasts

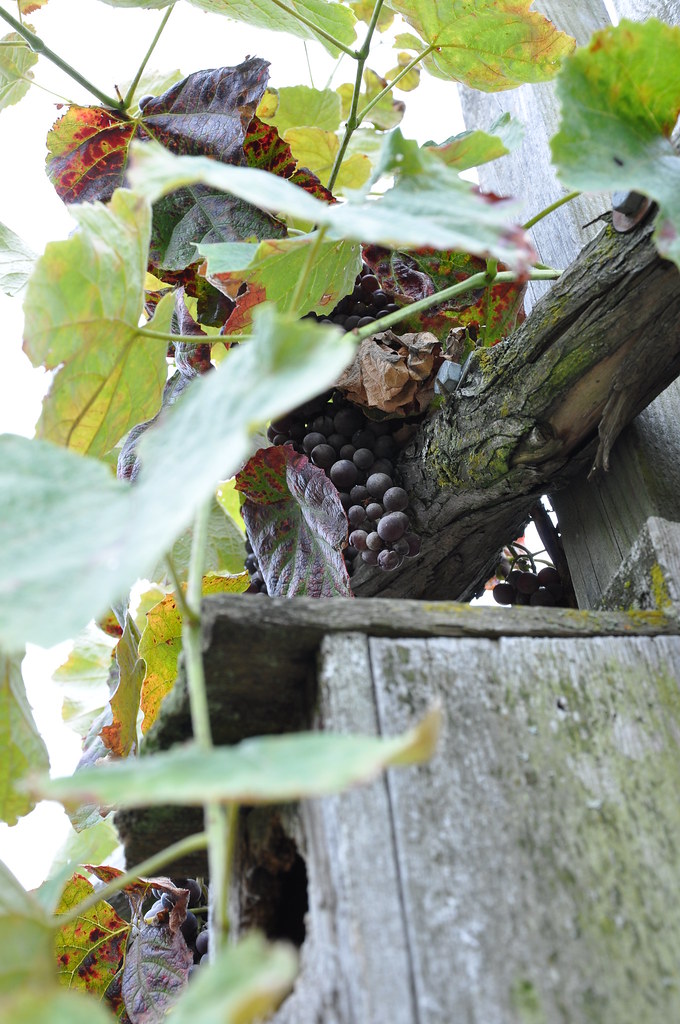
I recently took on a project that I've been meaning to do for a while and I've been putting off and putting off, mostly because it's kind of high maintenance and I'm kind of a low maintenance type of girl. The project was to grow a wild yeast culture using the organic grapes that grow in our P-patch. 


This year the grapes were ripe right before we were due to go out of town for a week, so I picked them and then froze them, hoping that it would still work but setting my expectations fairly low in case it didn't. I figured with that handicap and the fact that our house is almost as cold as it is outside, I wasn't sure any yeast could survive, let alone thrive.


The starter in it's early home, by the oven.

I'm using the method from Nancy Silverton's Breads from La Brea Bakery. I was given a copy of this book as a wedding gift (I think?) and haven't had a chance to use it at all since every recipe in the book calls for a starter of some sort that I just didn't have the time to set up until now. The recipes in the book are fairly technical, so it's not the best book for beginning bakers, but since I've baked a bit before I feel comfortable with the way she talks about the bread. I take it all with a gain of salt because she's way way more into bread baking than me, but even us amateurs like a good loaf now and then. She does a very good job explaining all the steps and giving tips for how to do each part of the bread making process. 


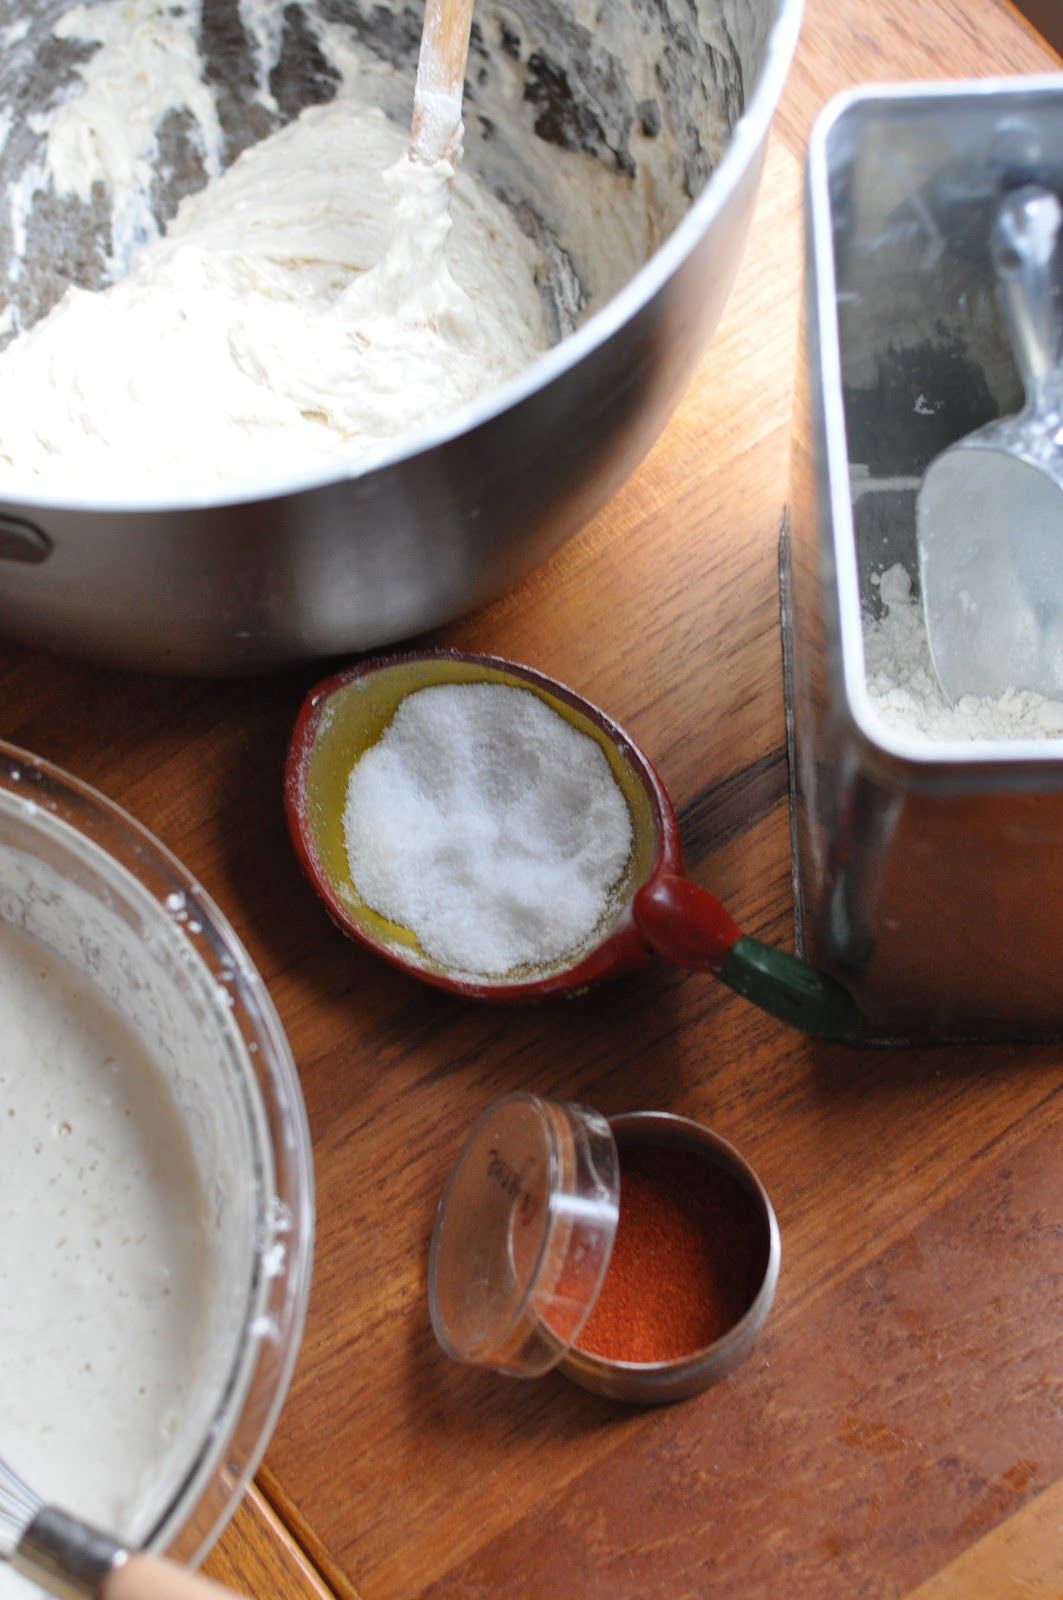
So I went ahead with all the steps. It wasn't too complicated, just sort of messy and delicate, also requiring a heaping helping of patience. The process takes about 2 weeks, from the day you crush your grapes to the day you bake you first loaf.


The first 9 days were simple. You make a mixture of flour and water, crush the grapes and add them, all secured in a clean airtight container. You check it every day, but you don't have to do anything else very often. 


After those first 9 days is when it gets a little more time consuming. You have to feed the mixture 3 times a day--breakfast, lunch and dinner--with a rigid schedule of how long the bread can go without being fed. And you have to dump out a ton of mixture and start over with just a little over a pound every morning. This was the part I had the hardest time with. It's not in my nature to throw away pounds and pounds of perfectly good flour. One, we're pretty frugal around here, and two, I'm a pastry chef. Food waste is a huge sin in professional kitchens. 


So I set out on a mission to use up as much of that dang starter as I could. I also tried to give a lot of it away, by offering starter batches to friends and people in our farm co-op. I think I ended up giving away 4 batches, and using the starter in an equal number of unexpected projects in the kitchen. 


I made lots of cracker dough to freeze for entertaining over the holidays, with cayenne and olive oil. I used some to make sourdough waffles with apple cider. Eating those was like a little preview of heaven for foodies. And I made crumpets. Dozens of crumpets, two days in a row. Some of which we ate and the rest of which maxed out what was left of our freezer space. 


I can't share the recipe for any of these things, since I made them all up on the fly. I guess my baking and cooking knowhow came in handy here, because I was able to just add enough of ingredients X, Y, and Z to make stuff work. 


What I can share is a very simple recipe for a salad. On Friday after making crumpets for what seemed like hours, we used them as our "challah" for a Shabbat dinner with our friend Aviva. Dinner ended up being sort of rushed, as she needed to be at the airport at 6:30, but it was still good to see a friend and share a meal, and to be able to enjoy some of the fruits of my hard work in the days leading up our meal. 


The salad had endive, warm roasted beets and goat cheese and a dijon vinaigrette. That's it, the entire recipe. Really. I think it would be equally good with some butter lettuce or blue cheese. And I suppose you could really use any vinaigrette that you like. Whatever you have lying around really. The secret is that the beets should still be warm, so the cheese and the dressing really meld all together. That's what made it so fantastic.


I did finally get around to actually baking some real bread on Saturday--a rustic white bread, which I shaped into rolls for dipping in the minestrone I made that night. (More crust is totally better, right?) The bread was great. It rose slowly but had great oven spring, so I know my yeast is happy and healthy. Onto real challah this Friday!


Easy Dijon Vinaigrette
makes about 1 cup


1/4 cup extra virgin olive oil
1/4 cup balsamic vinegar
1/4 cup champagne vinegar
1 Tbsp or so sugar, honey or my favorite, pomegranate molasses
1 Tbsp good dijon mustard
1-2 cloves crushed garlic
salt and pepper to taste


Shake all the ingredients in a jar, adding more mustard if necessary to achieve a very smooth, emulsified texture. Taste for acidity and add more sweet if you like. I tend to like my pretty acidic and low on the oil. Keeps in the fridge for 2 weeks.

Friday, December 2, 2011

The Goodies

Recently I decided that my plate wasn't quite full enough and that I should take up a new hobby. One that people get obsessive over and do for ever and ever and love.


Knitting.


Yeah, I know. It's kinda cliche and all that, but honestly, I have this little cutie who totally deserves to have all kinds of awesome things knitted for her, but not too many people to knit them but me. Things like this. Or this totally awesome berry pie hat, which by coincidence was just gifted to Lilli the same day as knitting club, a late birthday present from our friend Meghan.


The knitting club I joined is pretty low pressure if you can ignore the fact that we usually refer to it as a cult. It's with people I was already well acquainted with, so I knew I would fit right in and be comfortable getting help. So far I've been to just 2 meetings, but there's only been 3 since this group even started, so I'm off to a good start with the socializing part. The knitting part is going to take some time. At this Wednesday's circle I discovered that I was actually knitting totally wrong but somehow came out with the right result. What can I say? I've got skills.


Last week there was some delicious white chocolate covered popcorn with cranberries that I ate way too much of. Especially considering that I was eating caramel corn every day. And the fact that it was covered in sticky melty white chocolate. Not exactly the best thing to have coating your fingers when you are trying to use them to hold onto yarn and knitting needles, but that did not stop me from eating too much anyway. There was also some ginger cookies made by the friend who started the group, and they too were addicting.


It's a good thing I finally started that sit-up challenge this week, because I have been eating too much.


Anyhow, for this weeks meeting I decided that I should make a treat, since that's what I do best. To get into the spirit of the season (most everybody else's season, that is) I made delicious brownies. With, you guessed it, candy canes. 


Normally my go to brownie recipe is the one from the cookbook put together by the founders of Chocolate Bar in New York, but I wanted to make a double batch and that would have required more eggs than I was willing to spare (eggs are in short supply around here lately, as most of the chickens are molting so they aren't laying much).


I did a little searching and ended up basing them off of a recipe from the book Bittersweet instead. They are pretty much the perfect brownie, even without the addition of candy canes. If you like your brownies fudgy but not too moist or sticky, these ones are right on target, with an ever so slightly crackly crust and the right amount of chew.


I made them with Hershey's Special Dark Cocoa which I purchased out of curiosity. It's responsible for the deep rich black color of the brownies, which I absolutely love. Somehow it just makes them taste better knowing that they look like a galaxy of candy cane stars.


In the end, I had to pull apart my scarf about 3 times over the course of the evening. One time for each brownie I ate. Oh well, at least I'm good at baking.


Peppermint Galaxy Brownies
adapted from the book Bittersweet by Alice Medrich
makes 16 roughly 2"square brownies, easily doubles


10 Tbsp unsalted butter
1 cup sugar (original recipe calls for 1 1/4 cups)
3/4 cup plus 2 Tbsp unsweetened cocoa powder, any type is fine but I used this
1/4 tsp salt
1/2 tsp vanilla extract
2 large eggs
1/2 cup all purpose flour
1/2 cup crushed peppermint candy canes, plus extra for the top


Preheat oven to 325ºF, with a rack in the lower third of the oven. Line an 8" square baking pan with parchment paper, letting it overhang on 2 opposite edges.


In a saucepan over medium heat, melt the butter without browning. Remove from the heat and add the sugar and salt and stir until well combined. Add the cocoa powder and vanilla and combine till it forms a thick paste. Add the eggs one at a time, and beat with a wooden spoon or a spatula after each addition. Add the flour and stir until you don't see any streaks of flour, then beat for an additional 40 strokes. About 20 strokes in add the crushed candy canes, and finish combining. 


Spread batter in pan. Sprinkle on some more candy canes, as many as you like. Don't go too heavy--you want there to be a balance of chocolate and peppermint. Bake about 20-25 minutes, until a toothpick inserted in the center comes out with some batter stuck to it, but not totally glopped on. 


Cool completely on a wire rack. Use the edges of the parchment paper to remove from the pan. Cut with a sharp knife, wiping clean on a damp rag before eat cut.

Wednesday, November 30, 2011

Cookie Day

For Thanksgiving, most everyone has traditions related to food. Usually they are related to the Thanksgiving meal itself.  For me it's to go over the top and make some fancy dessert. For Joe it's the unfulfilled desire for marshmallows on the candied yams (because I refuse to make it that way). But for my friend Jacey the best part of the holiday is the day after. In her family they have been baking cookies that day, all day, for...I dont even know how long, but it's a long time.

Jacey and I used to be housemates, and cookie day was something that was looked forward to pretty much as soon as the weather got cold and talk turned towards the holidays. The cookies probably never lasted more than a week. Tops. More like only a couple of days.

The best were the peanut butter buckeyes. Those things are awesome.


Anyway, this year I got invited to cookie day. So, I headed down to Jacey's parents' house in Olympia for the afternoon last Friday to hang out, eat cookies and let Lilli work her magic on a grandpa just out of the hospital.  On the way I had a road buddy, Copper, who was also our housemate back in the day. We were pretty excited to see the magic in action.


Once we got there it was immediately clear that I would not be baking any cookies, but instead that I would be following Lilli around while she dismantled all their Christmas decorations. It worked out OK though, since I was totally unprepared and didn't actually bring any cookie recipes to make. I had been thinking of chocolate crinkles, but I'll have to save that recipe for another day.


Copper however, was very well prepared. After a recent trip to Germany, she had been inspired to get traditional wooden cookie presses. She made a dough and kneaded it for a while, then painstakingly pressed each cookie, dusting the press each time. She manually cut around each one, placing them on baking sheets to dry for a bit before baking. In the end I had to leave her there to get a ride back with another friend who was coming back to Seattle a little later than I. The cookies took longer than expected to bake and I had to leave kind of early to attend another Thanksgiving dinner. 


Even though I left early I did not return empty handed. The rest of the ladies had been busy since 8 o'clock that morning and there was lots of things to sample and bring home. I ended up the proud owner of a box piled high with goodies and a whole batch of peanut brittle. (If you ever find yourself with a whole batch of peanut brittle and some vanilla ice cream, please mix them together. You can thank me later.)

Just before leaving, I did finally help by make royal icing and even managed to decorate a couple of sugar cookies, but then had to go back to toddler corralling. 


Today, Tuesday, we have only a few cookies left of what I brought home, and about 1/2 of the peanut brittle. Lilli is partial to the peanut butter blossoms and the ginger cookies, but my favorite are the cardamom crescents, which come from a recipe in a magazine that Jacey's mom had saved. 

We might have drunk a little champagne, discreet tumbler style.

I'm a sucker for cardamom, and they were at once buttery and light. I didn't see how many the recipe made, so you'll just have to make them for yourself and find out!

Cardamom Crescents

2 ½ cups flour
¾ tsp ground cardamom
½ tsp ground cinnamon
½ tsp kosher salt
1 ½ cups powdered sugar, divided
1 cup pecans
1 cup unsalted butter, room temp
1 Tbsp vanilla extract


Preheat oven to 350ºF. 

Whisk 1st four ingredients in a medium size bowl and set aside.  In a food processor, pulse the pecans and 1/2 cup of the powdered sugar just until a coarse meal forms, and set aside.

Cream the butter with the vanilla. Add nut mixture, blending until just combined.  Add dry ingredients, blend well (dough will be moist but still crumbly).  Transfer to a work surface and knead until the mixture forms a ball, about 4-5 turns.
Measure 1 rounded tbsp of dough, and form into a ball. Roll into a log about 1½” long.  Gently bend into a crescent shape, pinching ends to taper (cookies may crack slightly).  Repeat with remaining dough, spacing about 1 inch apart on cookie sheets.

While baking, be sure to rotate sheets halfway through. Bake until bottoms are golden, 12 – 15 minutes.

Sift remaining 1 cup powdered sugar into a shallow wide bowl.  Working in batches of about 8 cookies each, roll warm cookies gently in powdered sugar to coat and transfer to a wire rack to cool.