Showing posts with label cooking. Show all posts

Sunday, December 25, 2011

A Latke Primer

I don't really know anything when it comes to most "Jewish" food. I don't do gefilte, I dislike both pickled herring and lox, and I've never made most of your Bubbie's famous dishes. But give me a frying pan and some potatoes and I'll make you a latke to write home about. 


We got a piano for Hanukah!
Two nights down...


Since there are still a few days left of Hanukah, and I've heard from a couple of people that they can't ever get their latkes quite right, I decided to pass on my humble knowledge of this famous fried food. I've also had Joe tell me he thinks I was born with a Jewish soul simply based on how well I cook traditionally cultural Jewish food even when I've never made it before, but I guess that's just his opinion.


There's really nothing worse than a mushy, soggy latke. Or one that falls apart in the pan and then just ends up in a million burnt shreds. Or one that's too dry because the potatoes were grated too fine.


In other words, there's a lot of ways to get them wrong. But I'm going to help you get them right, at least the way I do it. Your Bubbie may or may not approve.
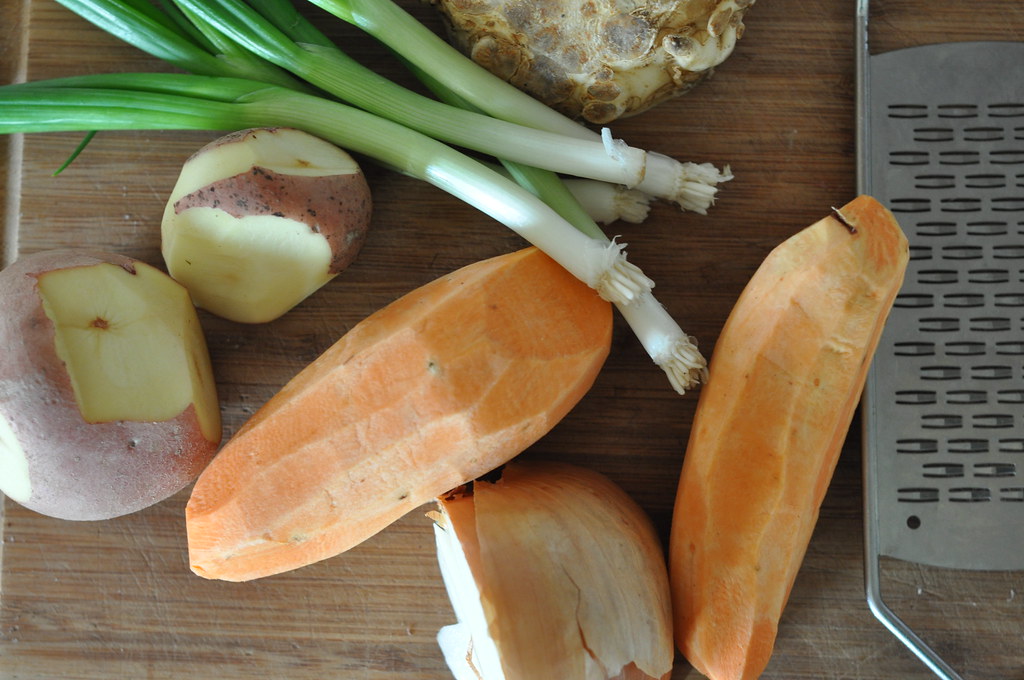

Breaking my own rules: not enough onion :(


There are a couple of key steps:


Grate the onion first. The juices from the onion will help keep the potato from browning as you grate it. I usually grate about 1/4 of a medium largish onion per 3 potatoes or so. And every 2-3 potatoes I mix the onion and potato shreds together to coat them all with that onion juice. Don't grate everything too fine or too big either, or your'll end up either with mush or with latkes that don't hold together at all. 
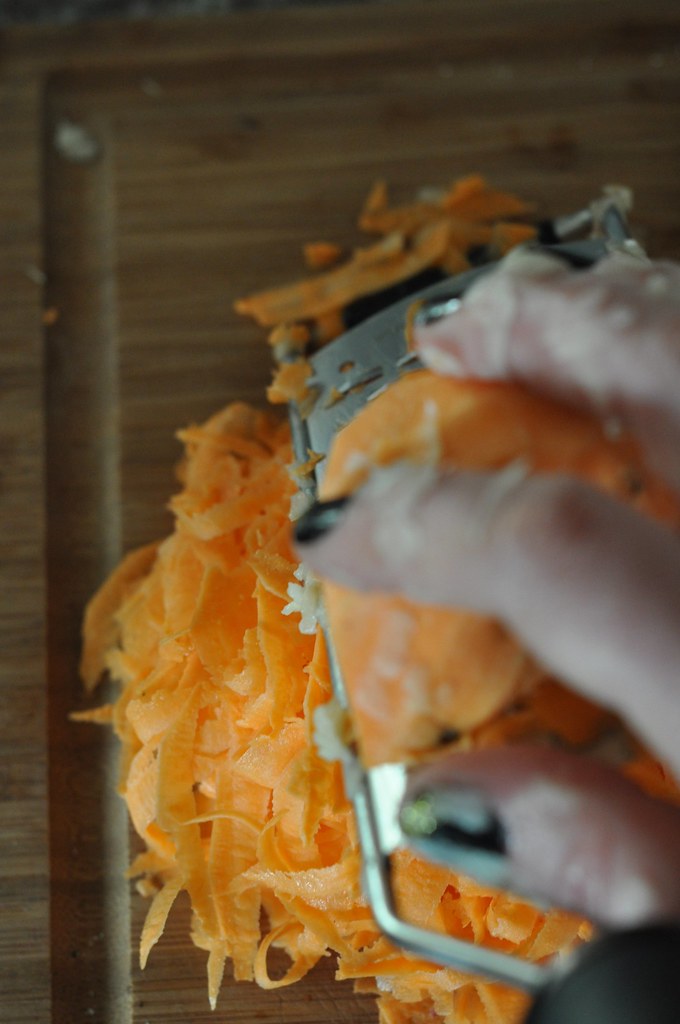

Don't do your nails fancy before this: the fancy won't survive.


Add the salt before draining. This helps release any excess juices from the potatoes, allowing you to really drain them well. This leads to the next step which is:


Drain the mix for longer than you think is really necessary, over a bowl. Start early, and let your shredded onions and potatoes drain over the bowl you will mix everything in for at least an hour. Every 20 minutes or so, go over there and really press the mix down into your colander to squeeze out that juice. Do it again right before you mix up the batter.


Dump off all the juice but leave the starch! At the bottom of the bowl that you have been letting your potatoes drain into, there will be a slime of potato starch. Leave it there and mix everything else into it. This extra starch really helps to bind together the rest of the ingredients. And speaking of starch:


It doesn't look pretty right now, but whatev.

I use flour instead of matzoh, but either one is fine. Finer starch will absorb the excess liquid more quickly.  A couple of Tbsp for every couple of potatoes is a good rule of thumb.


Ditch the egg whites. They don't help bind all that much, and they have a lot of extra water content, which you just spent an hour getting rid of. Keep your whites though, to make meringues or for egg white omelets if that's your thing. Use two egg yolks when your recipe calls for one whole egg, or for every 3-4 potatoes. 


Add extra stuff if you want, just keep the ratio of potato:onion:starch:eggs in mind. I like to add green onions, a little cheese, sometimes celeriac or apples, carrots or sweet potatoes. Mix it up and add different spices too. I've seen good recipes for samosa style latkes and dessert latkes, and even greek inspired ones served with tzatziki. 


Get the oil good and hot before you start cooking, and don't be afraid to use quite a bit. If your pan starts to look dry between batches, add a bit more and reheat before adding more latkes.


Get messy. It's better if you can hand form your latkes: they'll be thinner and crispier than if you just drop a big glob in the pan. I take about a palmful of batter and form it into a disk, then drop it into the oil. After I've filled the pan (but not too many! You don't want them to be crowded or they'll just steam.) I go back and lightly press them down with my spatula.


Cook until golden brown and then flip, just once. If they start to burn before you think they're getting done inside turn the heat down a touch. But don't worry too much about raw insides because you can always finish them in the oven. If you flip them too many times they'll start to fall apart no matter how good your batter is.


Drain as you go, onto a paper towel lined sheet pan in a warm oven. They'll stay nice and crispy for long enough to fry up all the batter so everyone can sit down together.
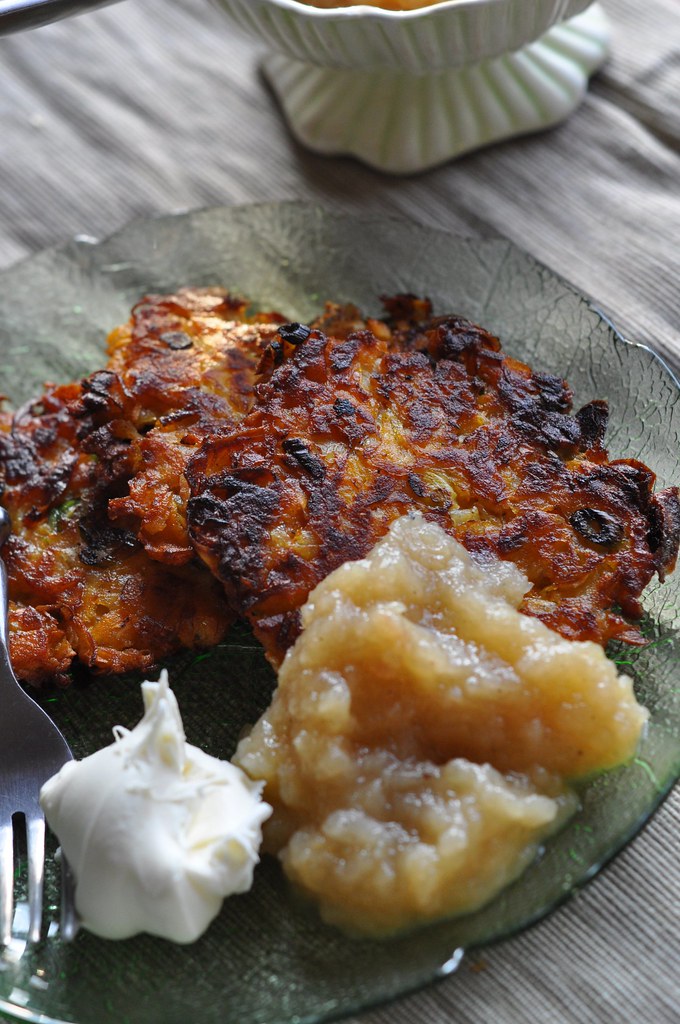

Sweet Potato Latkes with Cardamom Applesauce and Mascarpone


Monday, December 5, 2011

Wild Beasts

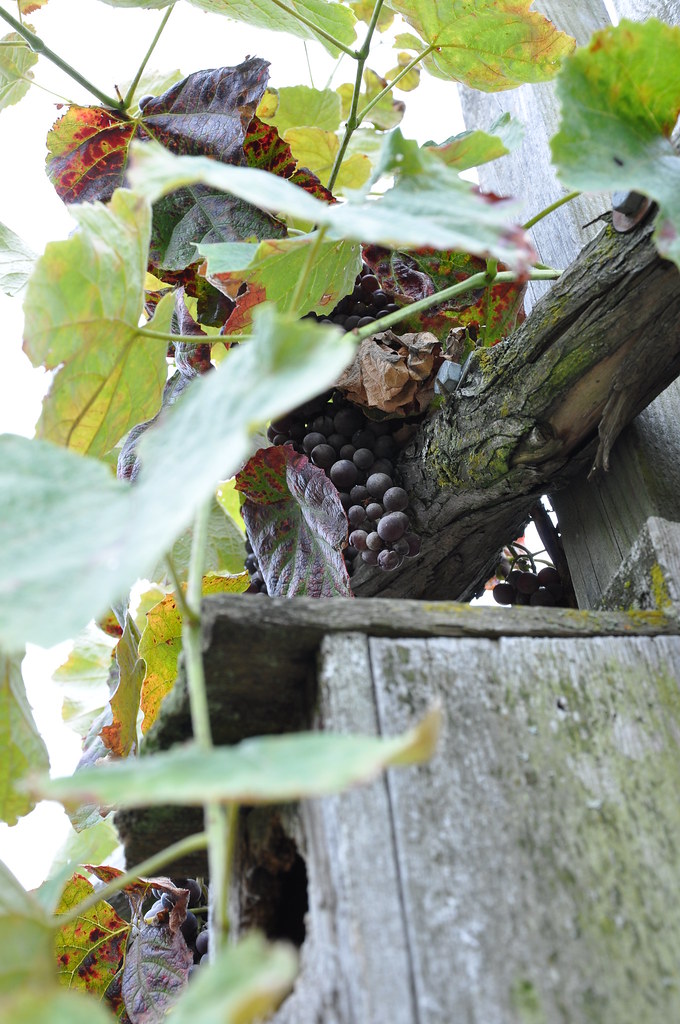
I recently took on a project that I've been meaning to do for a while and I've been putting off and putting off, mostly because it's kind of high maintenance and I'm kind of a low maintenance type of girl. The project was to grow a wild yeast culture using the organic grapes that grow in our P-patch. 


This year the grapes were ripe right before we were due to go out of town for a week, so I picked them and then froze them, hoping that it would still work but setting my expectations fairly low in case it didn't. I figured with that handicap and the fact that our house is almost as cold as it is outside, I wasn't sure any yeast could survive, let alone thrive.


The starter in it's early home, by the oven.

I'm using the method from Nancy Silverton's Breads from La Brea Bakery. I was given a copy of this book as a wedding gift (I think?) and haven't had a chance to use it at all since every recipe in the book calls for a starter of some sort that I just didn't have the time to set up until now. The recipes in the book are fairly technical, so it's not the best book for beginning bakers, but since I've baked a bit before I feel comfortable with the way she talks about the bread. I take it all with a gain of salt because she's way way more into bread baking than me, but even us amateurs like a good loaf now and then. She does a very good job explaining all the steps and giving tips for how to do each part of the bread making process. 


So I went ahead with all the steps. It wasn't too complicated, just sort of messy and delicate, also requiring a heaping helping of patience. The process takes about 2 weeks, from the day you crush your grapes to the day you bake you first loaf.


The first 9 days were simple. You make a mixture of flour and water, crush the grapes and add them, all secured in a clean airtight container. You check it every day, but you don't have to do anything else very often. 


After those first 9 days is when it gets a little more time consuming. You have to feed the mixture 3 times a day--breakfast, lunch and dinner--with a rigid schedule of how long the bread can go without being fed. And you have to dump out a ton of mixture and start over with just a little over a pound every morning. This was the part I had the hardest time with. It's not in my nature to throw away pounds and pounds of perfectly good flour. One, we're pretty frugal around here, and two, I'm a pastry chef. Food waste is a huge sin in professional kitchens. 


So I set out on a mission to use up as much of that dang starter as I could. I also tried to give a lot of it away, by offering starter batches to friends and people in our farm co-op. I think I ended up giving away 4 batches, and using the starter in an equal number of unexpected projects in the kitchen. 


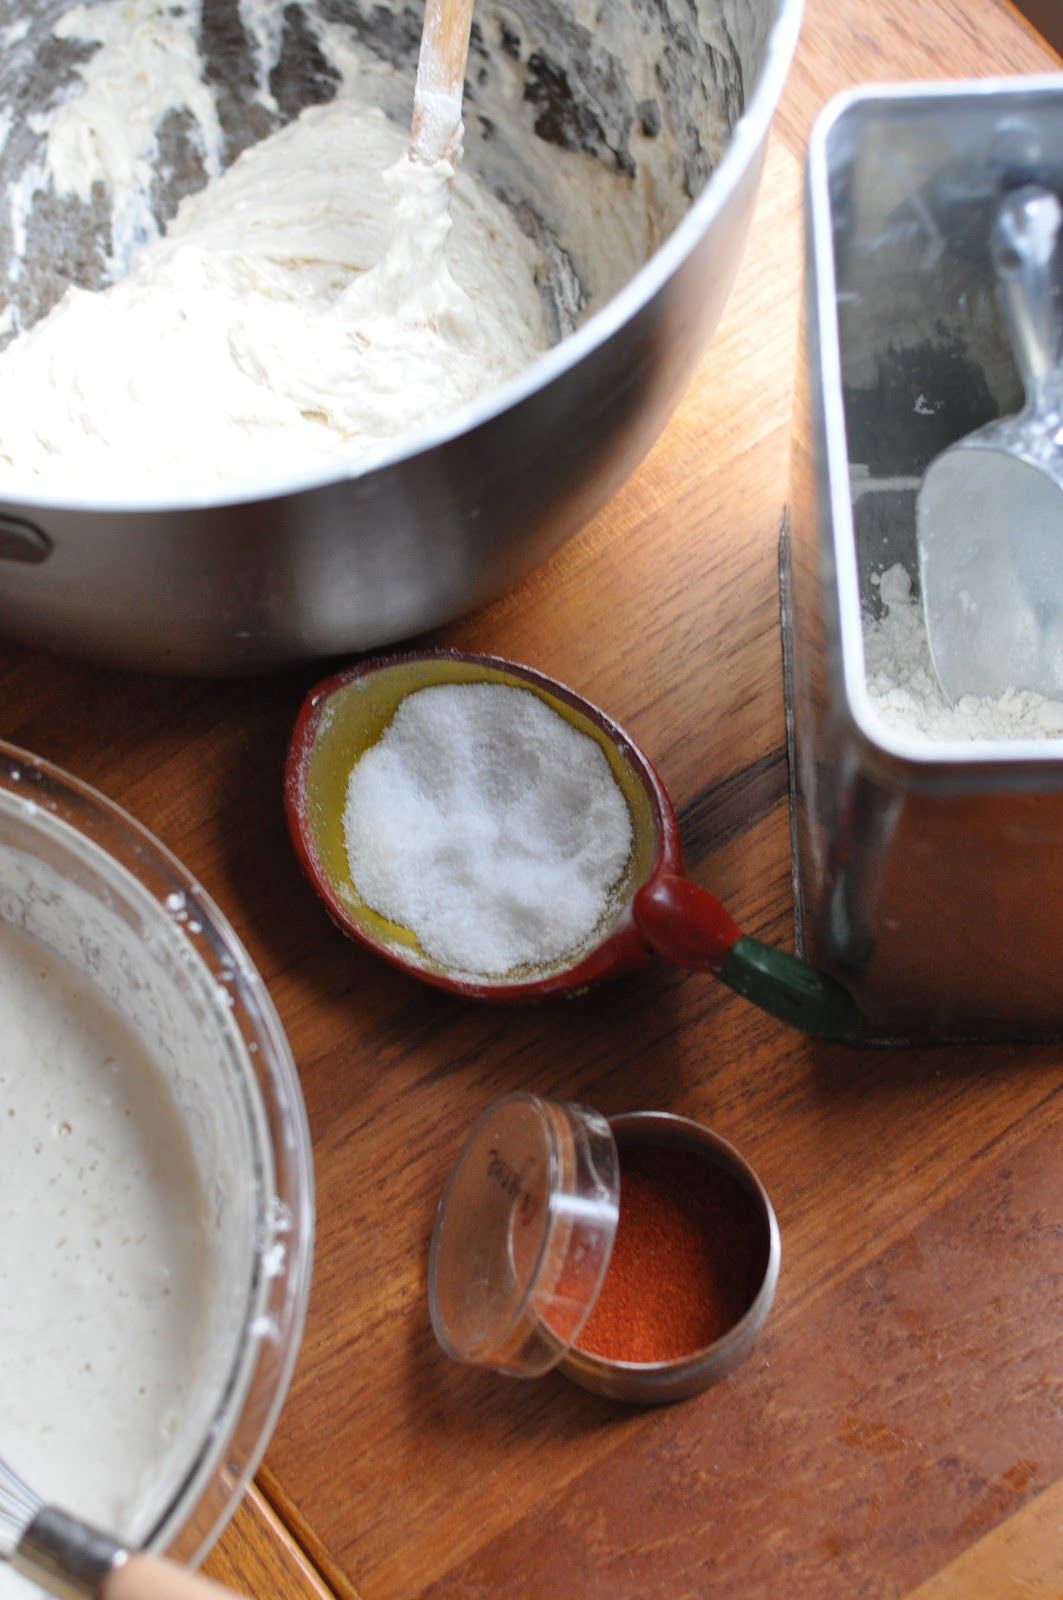
I made lots of cracker dough to freeze for entertaining over the holidays, with cayenne and olive oil. I used some to make sourdough waffles with apple cider. Eating those was like a little preview of heaven for foodies. And I made crumpets. Dozens of crumpets, two days in a row. Some of which we ate and the rest of which maxed out what was left of our freezer space. 


I can't share the recipe for any of these things, since I made them all up on the fly. I guess my baking and cooking knowhow came in handy here, because I was able to just add enough of ingredients X, Y, and Z to make stuff work. 


What I can share is a very simple recipe for a salad. On Friday after making crumpets for what seemed like hours, we used them as our "challah" for a Shabbat dinner with our friend Aviva. Dinner ended up being sort of rushed, as she needed to be at the airport at 6:30, but it was still good to see a friend and share a meal, and to be able to enjoy some of the fruits of my hard work in the days leading up our meal. 


The salad had endive, warm roasted beets and goat cheese and a dijon vinaigrette. That's it, the entire recipe. Really. I think it would be equally good with some butter lettuce or blue cheese. And I suppose you could really use any vinaigrette that you like. Whatever you have lying around really. The secret is that the beets should still be warm, so the cheese and the dressing really meld all together. That's what made it so fantastic.


I did finally get around to actually baking some real bread on Saturday--a rustic white bread, which I shaped into rolls for dipping in the minestrone I made that night. (More crust is totally better, right?) The bread was great. It rose slowly but had great oven spring, so I know my yeast is happy and healthy. Onto real challah this Friday!


Easy Dijon Vinaigrette
makes about 1 cup


1/4 cup extra virgin olive oil
1/4 cup balsamic vinegar
1/4 cup champagne vinegar
1 Tbsp or so sugar, honey or my favorite, pomegranate molasses
1 Tbsp good dijon mustard
1-2 cloves crushed garlic
salt and pepper to taste


Shake all the ingredients in a jar, adding more mustard if necessary to achieve a very smooth, emulsified texture. Taste for acidity and add more sweet if you like. I tend to like my pretty acidic and low on the oil. Keeps in the fridge for 2 weeks.

Tuesday, November 29, 2011

Having Given Thanks

I have vivid memories of being at the kids' table when I was a little girl. This would have been at my Grandma Vernice's house for holiday dinners, probably Christmas because we mostly spent Thanksgiving with my mom's family. But still, a holiday dinner nonetheless. 


I remember feeling very grown-up getting to sit in a totally different room from the real grown-ups. We even got out own butter plate. How cool is that? There were probably times when I wished I could be part of the larger group, but thinking back, those feelings are overwhelmed by how special it felt to sit with just my older cousins in charge. 


Our Thanksgiving Day hummingbird visitor.

But now, I can't even remember the last time I was at a family event that had a kids' table. That thought prompted me to set places for the boys this year that were a little apart from the grown-ups, but not too far. I hope they liked it. Even if Nanna sat with them. 


This year was my last small Thanksgiving for a while. While it was nice to have complete control over the food, I've decided it is time to go back to going big. I used to have family thanksgivings that were probably at least 15-18 people, and I kind of miss that. The last couple of years we've had just 5-8. That's a pretty big difference. I guess I'm just cut out from a bolder cloth than that.


As you can imagine, having fed only 8 people this year, 3 of them under 10, we had a lot of food left. So this week I have been using it up and spreading it all out. I wanted to pass on my favorites, just in case you still need some ideas for creative ways to use up those leftovers. 

  • Fried dressing cakes. Just press out some thin patties of leftover dressing/stuffing and fry it up on the griddle or in your favorite skillet.
  • Rose's amazing leftover pizza, which I didn't get to try but did sound pretty swell.
  • Creamed corn with pumpkin puree added to it. Seriously. Just make creamed corn but add pumpkin puree. 
  • Turkey Pot Pie. I made one of these and put it in the freezer. Instead of cream of whatever soup, use gravy and pumpkin puree, and replace the traditional crust with leftover mashed potatoes. Thaw overnight before baking.
  • Turkey Enchiladas en Mole. I used store bought mole sauce, and in our house we omit the cheese and use fake sour cream. Just put some avocados on there and you will never ever know.
  • Turkey Shawarma. This one is tomorrow night's dinner. Joe just about fell over when I suggested this as a meal. I think he would move to Israel just to eat shawarma everyday. No joke. It might be how he convinces me.
  • The obligatory turkey stock, to be used later to make soup or risotto or whatever I can dream up.

To aid in the making of shawarma, pot pie, etc. I shredded all the meat that was leftover as I made the stock. That way I was able to get all the bones and bits into the stockpot, and have all the leftover meat ready to go for making dinners this week. 

I hope your Thanksgiving was something special, no matter how many people were there or what you ate. And now on to the end of the year!

Filming their "Thanksgiving Special"

Wednesday, November 23, 2011

Not Your Grandma's Caramel Corn

I am unabashedly in love with popcorn. It's pretty much a perfect food. It's sorta plain on its own so it can be flavored like anything. It's always crunchy. It's easy to make. It's easy to make totally fattening with loads of butter, or it's easy to make very healthy with just a little olive oil.


I also am pretty sure that gingersnaps are another perfect food. They're spicy and sweet, chewy and crispy. They're all pretty and crackly, and the flavor is very complex. They're probably my favorite cookie.


So what happens if you get a totally genius idea. To set gingersnaps and popcorn up on a blind date?


Well, if you add a bottle of champagne, like I did, then they have a love child that is pretty much the most perfectest food in existence. At least, this week.


And then if you have leftover popcorn from making that not-too-big-there's-no-such-thing batch of caramel corn, you make something that is even better. Because you have the ingredients, and a buddy who is willing to get a little crazy with them. You know, the buddy whose idea it was to add rosemary and maple syrup to her caramel corn, because she's also a genius.


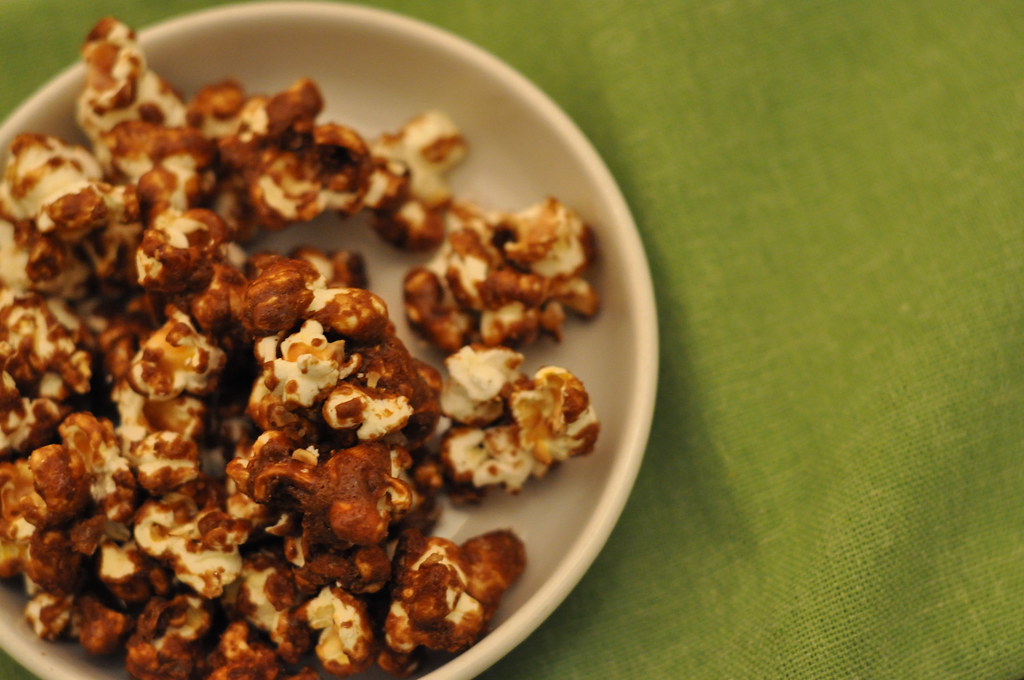
It will also be spicy and sweet, and sorta floral too. That's the cardamom talking. But when you taste the chipotle, then you know you have a winner. The chipotle is like a ninja.


You can put in all in bags if you want, but chances are it won't last long enough to get stale. Consider that your warning.


If you have a stash of popcorn kernels and some brown sugar and butter, you too can make a delicious snack that will make your house smell good until the next day. 


Variations on Caramel Corn
makes about 8 quarts

Old Fashioned:


8 or so quarts air or oil popped popcorn, plain
2 cups light brown sugar
1 cup butter
1/2 cup corn syrup
1 tsp salt
1/2 tsp baking soda
1 tsp vanilla


Preheat oven to 250ºF. Bring the sugar, butter, corn syrup and salt to a boil while stirring. Once it's really going, let it boil undisturbed for 5 minutes. Remove from heat and add the baking soda and vanilla. Stir well (careful, it might foam up) and pour over popcorn. Coat completely and spread over sheet pans. Bake for 45 minutes, stirring every 15 minutes. Let cool, break up any big chunks, and devour store in an airtight container.


Gingersnap Caramel Corn:


Replace the corn syrup with blackstrap molasses.
Replace light brown sugar with dark brown.
With the baking soda, add the following:
1 tsp ground ginger
1 tsp ground cinnamon
1/2 tsp ground allspice
Omit vanilla.
For extra ginger kick, add a cup of finely diced candied ginger to the caramel just before pouring over the popcorn.


Cardamom Chipotle Caramel Corn:


Follow the recipe for Old Fashioned, but add 1 (heaping) tsp cardamom and 3/4 tsp chipotle when you add the baking soda.


Rosemary Maple Caramel Corn:


Replace the corn syrup with grade B maple syrup.
When combining the popcorn and caramel, add about 1/4 cup finely chopped fresh rosemary as you stir, or more to taste.
Omit vanilla.

Thursday, October 13, 2011

A bumper crop

Next week we are going to be out of town, so of course, this week is the week that I have two largish orders for custom cakes, a bushel of tomatoes to deal with and 75 lbs of fruit coming on Saturday.


The cakes are easy--they require a bit of work, but should come together smoothly and almost without thinking. That's my job, after all.


The fruit, 50 lbs of apples and 25 of pears, will probably keep just fine in the cool basement for the 5 days we will be gone, so long as the cat doesn't suddenly develop a taste for tree fruit. I just hope those raccoons don't figure out how to get in the house...


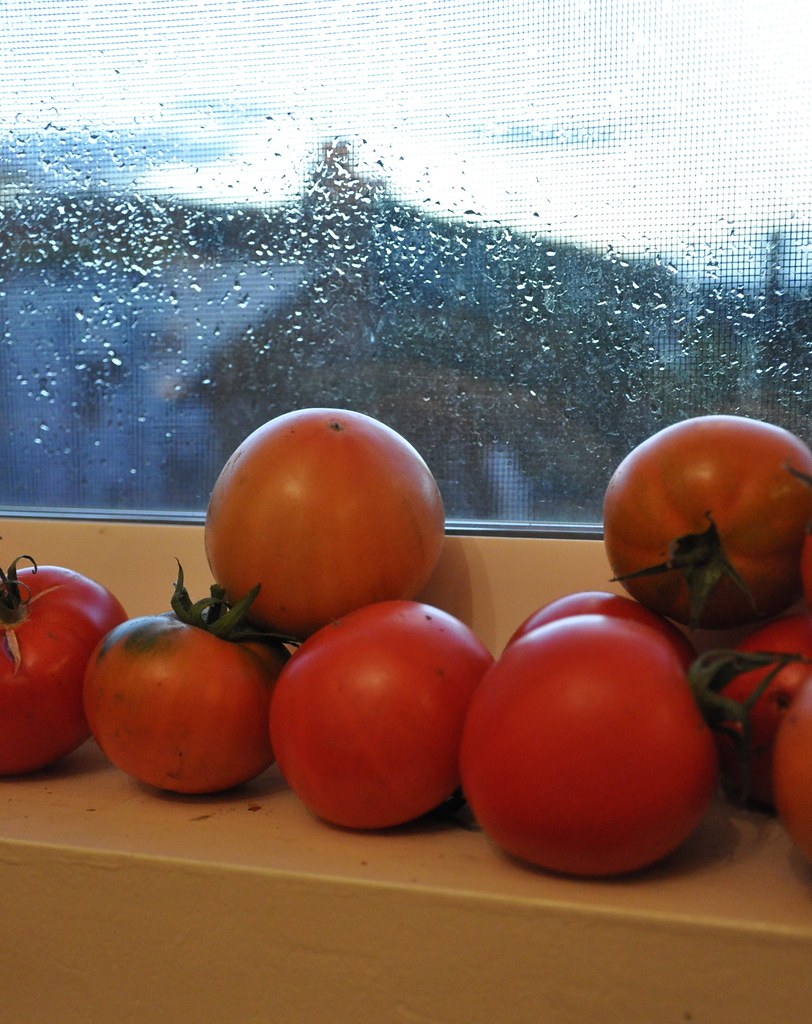
The tomatoes, on the other hand, can't wait. It's been very rainy here this week so they all had to come in out of the downpour one way or another.  There were about 10 lbs of green ones, 5 or 6 lbs of ripe ones, and a couple of lbs that are halfway in between. Those ones, I don't know what will happen to.  And I'll have no problem getting rid of most of the ripe ones. Even Lilli eats at least a tomato a day.


But the rest, I found uses for with just a little bit of research and brain power.


I made tomatoes 5 ways this week, over the course of 3 nights.


First, I put up 4 quarts of green tomato mincemeat, made with honeycrisp apples and some asian pears I helped harvest from a neighborhood tree last week. Plenty of currants and spices, some lemons and sugar, and sometime this winter this delicious mix will meet it's match in philo or pie dough. 


Next, I started a couple different batches of green tomato pickles. One that needed 24 hours; and one only 12. One that had curry seasonings and mustard and sugar; one that was laced with garlic and mint and basil and chili.  One that is a simple refrigerator pickle and one that needed to be processed. I think the 2 probably couldn't be much more different from each other, but each will be much appreciated in their own way. 


Wait, let me take a step back. The very first thing I did, even before the mincemeat, was start some oven dried tomatoes. And tonight I finished that project, a tomato pesto that I borrowed from Ashley Rodriguez who writes one of my favorite blogs, Not Without Salt. I have never met a recipe from her that I didn't like, so while I didn't have time to test out this particular one beforehand, I knew it would be great. I decided to make a much larger batch than her original recipe calls for, because of the amount of ingredients I had. I altered it a bit also, so that I could freeze it and use up what I had instead of procuring new things.


Drying the tomatoes turned out to be a frustrating thing for me, because I lack patience. They took much longer than I thought they would, so I got them most of the way there and then gave up. I figured since they weren't being kept as a dry ingredient anyway, it wasn't a big deal. 


The pesto turned out amazing, but, as with all things gooey, the pictures did not. Especially not in my night kitchen. 


Chatting with the cat.

She likes to be part of the action.

And after all was said and done, I still have a few nice green tomatoes to make into a tasty quick bread as an airplane snack. 


Green Tomato Mincemeat
makes 4 quarts


4 quart jars full of whole green tomatoes, rinsed
1 ¼ cups vinegar or 1 cup vinegar and ¼ cup lemon juice
4 cups currants or raisins
2 lemons seeded and chopped up fine in a food processor
2 quart jars full of apples or apples and pears, quartered, skins removed, and sliced thinly
1 tbsp cinnamon
1 tsp ginger
1 tsp allspice
2 tsp salt
2 cups brown sugar
2 cups white sugar

A note about the fruit measurements. To measure the tomatoes, I packed them into a quart jar as I cleaned and de-stemmed them, stopping when I got to 4 jars worth. For larger tomatoes, I halved or quartered them to make more fit, but there was quite a bit of space in between the them, so don't worry about packing the jars too full.  For the apples I filled the jars as I sliced the apples, and for these I did pack them in rather tight.

Chop up the tomatoes in a food processor, pulsing so that they don't just turn to mush. You want the pieces to be roughly the size of a large lima bean, give or take. Pour into a large nonreactive pot.

For the apples and pears, I used one of those handy apple core turning machines. It peels the apples, cores and slices it all in one motion. (If you don't have one and ever find one at a thrift store, buy it. You will thank yourself the next time you need to do anything with apples in large quantities.) I just cut the whole apple in quarters after putting it through the machine. If you don't have one of these, peel the apples, quarter them, and slice them thin. 

Add everything else to the pot, stir it up, and bring to a boil. Turn the heat down to medium and cook for about an hour, stirring occasionally, until the mixture is thick and the fruit has softened. The color will be much more uniform at this point as well.

Clean and sanitize 4 quart jars, and fill using a canning funnel, leaving 1/2" headspace. Remove air bubbles with a thin rubber spatula and adjust filling level. Wipe the rims clean with a damp paper towel and seal. Process in a boiling water bath for 25 minutes. You might have more or less filling, depending on how long you cook it down. As long as your jars are completely full you can process them. Otherwise store the jars in the fridge and use within a couple of weeks.


And in case you didn't see this floating around the internets, here's my real motivation for canning and preserving:


Saturday, October 8, 2011

The Easiest Challenge of the Season

I am going to come right out and say it. I really really love fall. I love all the spices, I love drinking hot things, I love soup. I love the leaves changing, I love the pumpkin patch, I love windy rainy days. And I love pumpkin. 


A week or so ago I challenged myself to something that I knew wouldn't be very challenging at all. I went with it anyway, because sometimes you have to let yourself cheat. I ate something pumpkin flavored everyday. Sometimes more than once a day, because I'm an overachiever like that. (Bonus points for being an overachiever and a slacker at the same time.) I also cheated by letting myself use canned pumpkin. Mostly because it has better flavor than freshly made pumpkin puree. I don't know how they do that, but there it is.


Anyhow, every recipe was a success, except for one. Turns out, it's hard to make a pumpkin coffee at home with only a french press. 


Here are all the things I made, in no particular order:

  • Cottage pie with Pumpkin gravy
  • Pumpkin spice challah french toast (made with a thick pumpkin custard and of course, cream)
  • Pumpkin molasses waffles (just add pumpkin and spices to the batter, and sub sugar for molasses)
  • Pumpkin curry soup
  • Pumpkin mac'n'cheese (I left out the maple syrup and topped it with panko before baking)

I just discovered another way I cheated. I didn't make a new thing every day. Somedays, we ate leftovers. No big deal. I think tomorrow I will make pumpkin oatmeal for breakfast to make up for it.


Anyhow, you should try an easy challenge like this. It's guaranteed to be more fun than my current challenge at which I am so far failing miserably (because I haven't even started), the 200 sit-up challenge. 


Cottage Pie with Pumpkin Gravy
Serves 4-6


1 lb lean ground beef or other ground meat
1 cup frozen peas
2 or 3 carrots, cut in 1/4" coins
fresh ground nutmeg, to taste
salt and pepper, to taste
pinch sweet paprika (optional)
vegetable or chicken stock, about 2 cups
1 cup pumpkin puree


About 3 or so cups of your favorite mashed potatoes for the topping. Depending on your casserole dish you might need more or less. You want it to be about an inch thick. I think I used 3 russet potatoes for my 9" casserole dish.


Preheat oven to 350ºF. Brown meat thoroughly in a shallow saucepan and set aside. Drain on paper towels if it's greasy at all. In the same pan, add carrots and a pinch of salt, and enough stock to loosen the browned bits from the meat. Add peas. Stir it around for a minute, then add the pumpkin and the rest of the stock. You want it to be about the consistency of a thick soup, because I didn't add any thickener. It will cook down a bit in the oven. At this point taste for salt and pepper, add paprika if you're using it, and add nutmeg to taste. I might have added some onion powder or allspice too, I can't remember :(


Once the mixture comes to a boil and the carrots have softened a bit, about 5-7 minutes, add the meat back in and let heat again for a minute or so. Pour the whole mixture into your casserole dish and top with the mashed potatoes. Grate a little bit more nutmeg over the top. Bake for about 35-40 minutes, until the mashed potatoes are browning around the edges and the gravy is bubbling out a bit. 


This casserole is something I made in the morning and then had my husband pop in the oven in the afternoon while I was out, so I know that will work too if you need it to. I would say you could make it a day ahead if you wanted.