Thursday, July 21, 2011

All Aloners

Joe took the boys to Yellowstone. They will be gone for a whole week. I missed him pretty much the minute he left. 


We've never really spent that much time apart since meeting almost 6 years ago. There was the odd vacation here and there spent with family, etc. in the beginning of our relationship, and we spent almost a week apart just before our wedding. We've been together almost everyday since.


But last month, we discovered that Lilli doesn't like road trips as much as we do, so I missed a trip to Lake Chelan when school got out. And now I am missing a long awaited trip to Yellowstone, and Lilli and I are hanging out all alone, just the two of us.


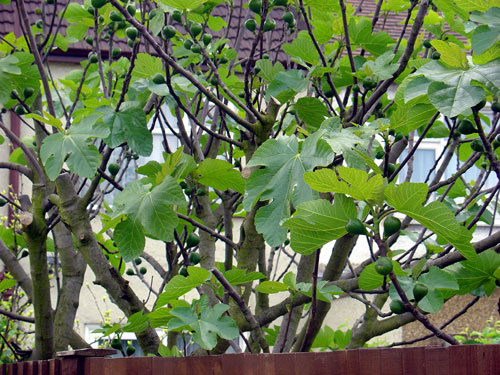
The cilantro that's as tall as me. 


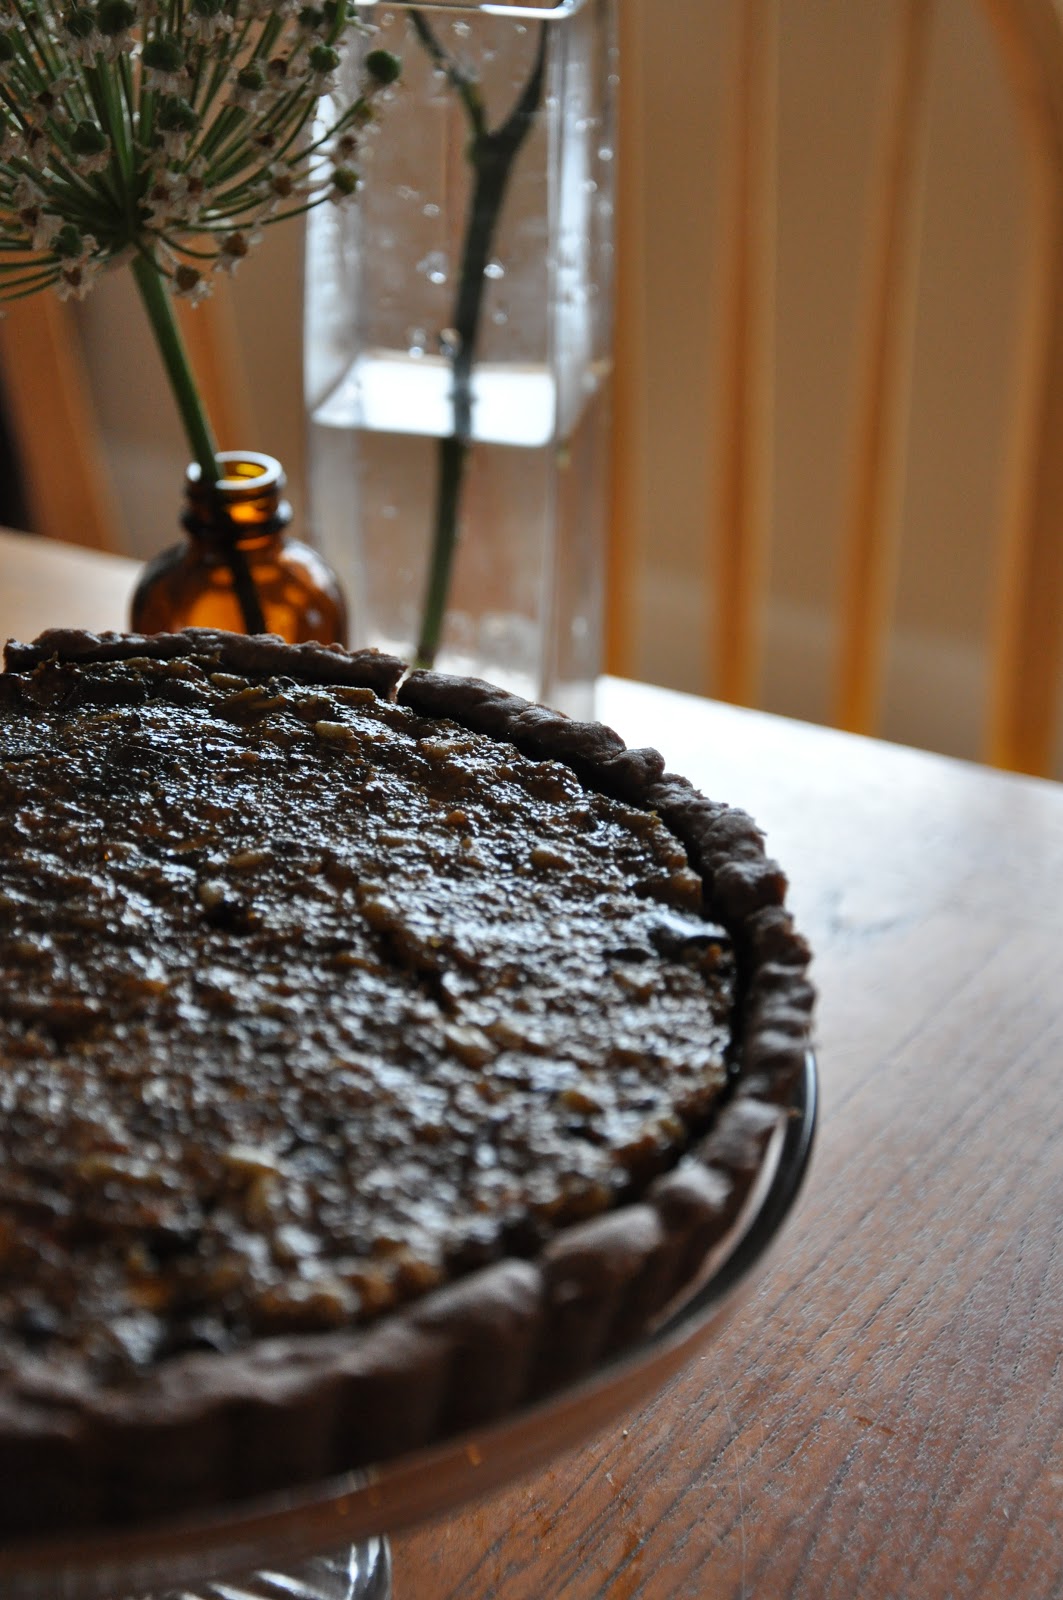
It is a small consolation that I got to plan a menu for them to eat while they were out in the Wilds of the West. There was an assortment of easy camping fare, like hotdogs to cook on sticks and mac'n'cheese from a box. And then there were those homemade bagels I was teasing you with last week (which I'll get around to writing about in due time...the recipe is a doosey). But by far the best thing in the cooler was the empanadas. 


I've been wanting to try homemade empanadas for some time. I love pie, and we eat a lot of NW style Mexican food (is that a thing?) at home.  Empanadas are like mexican pies you can hold in your hand. How can you go wrong? We are also growing a ton of cilantro, so I knew that I would have the best accompaniment possible for the big pot of black beans making empanadas would give me the excuse to cook up. I found a good recipe for the dough here, but wanted to make my own filling.


I doubled the batch of dough, since we were eating them that night and I wanted to have some to send camping with the guys. It worked out great, but could have been a touch more flaky. I think you could use pretty much any standard, unsweetened, pie dough.


I used little new red potatoes, some caramelized onions, and black beans. I boil my own beans--I like the satisfaction of seeing them go from dry little beans to big, plump delivery systems of flavor. I usually forget to soak them the day before, which results in the softest bean. I almost always end up boiling them for a minute or two early in the day, and then letting them soak for several hours in the water. After that, you need to switch the water before you continue cooking them, which is the best part because you pour off this thick, black, inky water from boiling the beans. I always fantasize about what I could use that water for, but so far I haven't come up with anything good. 


When we ate them last week, we had my Dad and Step-mom over for dinner. I served a big salad, of course--made with very thin sliced cabbage, lettuce from the garden, radishes and celery, with a lime vinaigrette. Eating salad, for me, is the best part of the day. I can turn anything into a salad and if it has it's own special dressing, that is even better. The empanada part of the meal was the biggest hit though, paired with cilantro sour cream and a healthy dose of hot sauce. 


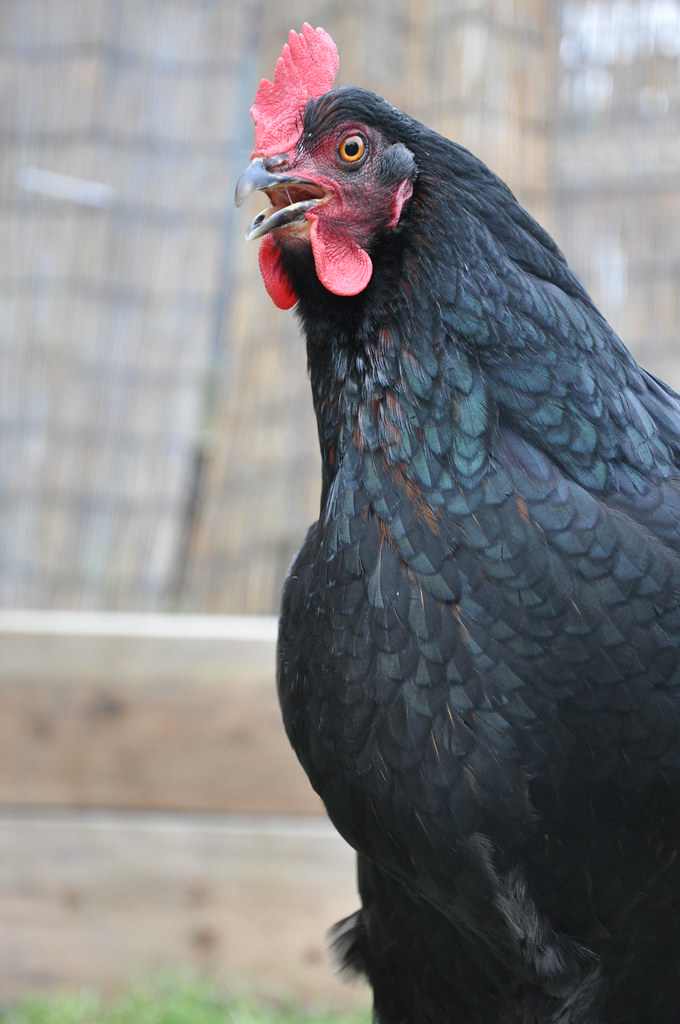
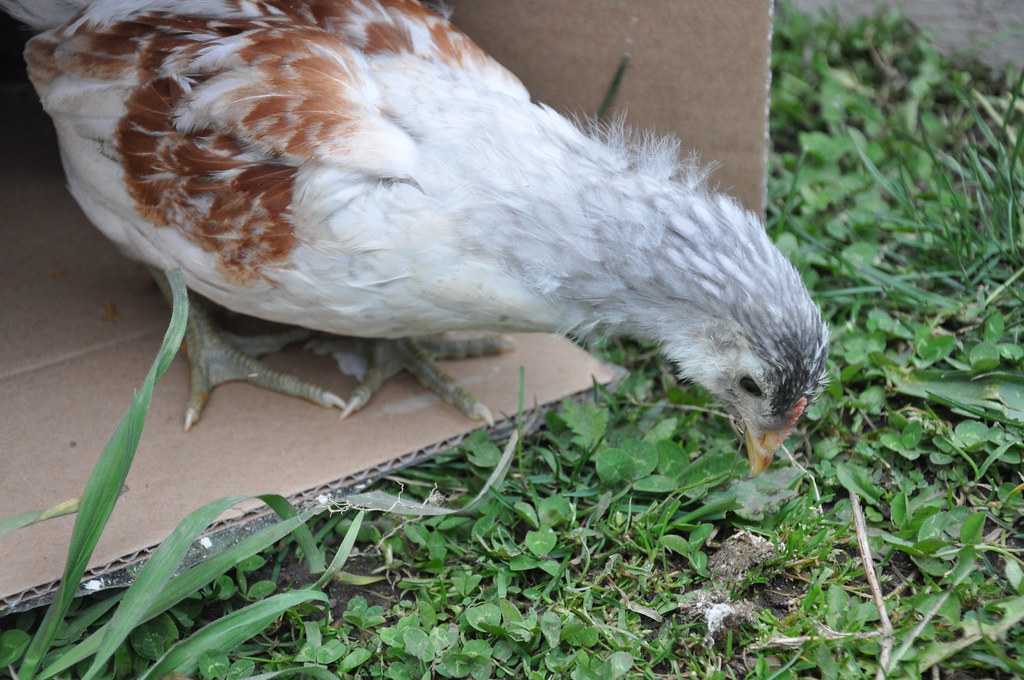
A little surprise in the cilantro.


I pulled this recipe out of thin air, but it's so easy to pull together, it doesn't really matter. You can change any of the filling ingredients as you see fit.

Red Potato and Black Bean Empanadas
makes 24

5-6 small red potatoes, cut into 1/2" cubes
1 1/2 black beans, cooked thoroughly
1 ear corn, kernels cut off the cob ( I had leftover grilled corn)
1 medium sweet onion, sliced thin
2 cloves garlic, minced
olive oil for sautéing 
salt, pepper, chili or cayenne, to taste
egg wash (one egg yolk whisked with a little water to thin it)

Heat oven to 400º F.

Heat your favorite frying pan, and add olive oil. Add onions and let caramelize for about 10 minutes or so, stirring often to let them get color evenly. Add some salt and whatever other spices you'd like. Add the garlic and cook another minute. Add in the potatoes and about a quarter cup of water. Cover and let the potatoes steam for a few minutes. Check back every 5 minutes or so, adding more water if necessary, until the potatoes are tender but not mushy. Add the black beans and corn, and heat through. Take off the heat. Set aside to cool while you roll out your dough. 

I rolled out my dough into individual rounds, as the recipe I used calls for, but you could just as easily roll it into a big rectangle and cut it into squares and make them that way. 

Add about 2-3 Tbsp of filling per empanada, and fold the tops over. You might need to use a little bit of water or egg wash to seal them. Crimp however you like, and brush egg wash over the tops.  I forgot the egg wash step, so you could leave it out if you like and they will still taste amazing.

Bake for about 35 minutes, until they have a nice even golden brown color. 

For the cilantro sour cream I just chopped up some fresh cilantro and added it to the sour cream, thinning to the desired consistency with a little bit of milk. How easy is that?


Tuesday, July 12, 2011

Bare Bones

What's a girl to do when she wants to make a tart and her flour bin looks like this?

Well, she could experiment with some of that gluten free flour mix in the cupboard, or she could find a recipe that calls for some other obscure flour. Or, if she has already made bagels that day and is feeling sorta lazy after that, she can reach deep into the freezer and pull out a patty of chocolate short dough the origins of which she can't quite recall. It can't have been in there that long, right?


And then, she will take out a pound of fresh black figs, but in so doing realize that there is a disturbing lack of ingredients for pastry cream in her refrigerator. This is, again, the bagels' fault. She was making bagels instead of going to the grocery store. 

This is what happened to me yesterday. I wanted to make something like this tart, but I wound up making my own instead.  I impulse bought some figs at the end of last week, and they have been waiting for me to be inspired. Well, inspired to do something with them, the figs. I've done plenty of other things since they made their way into my kitchen. Like make lemon curd frozen yogurt, and go to an awesome cookbook club picnic. But those are altogether different stories. 

Back to the figs.

I grew up in a house with a huge fig tree in the front yard. I mean huge. So huge we would have to go up on the roof to pick the figs. Birds always ate them, and my mom would sometimes pick them and sell them to an organic juice bar near Greenlake. I have vivid memories of my mom running out onto the porch during the day to try and scare the birds away. It was pretty futile, but I think it made her feel better. Our figs were green--my mom always said they were Adriatic figs. 

Ours was like this, but about 3 times bigger. Photo courtesy Route79 via flickr.

I don't really know how we had such a prolific fig tree, being in Seattle (Yes, I'm a Seattle native. It's OK to be jealous...), but we did, nevertheless. There was always way more figs than we could do anything with, and I don't really remember anybody but me ever even eating them. I do remember some failed teenaged attempts at making fig type bars, but I guess I had some learning to do in the kitchen department. 

I do still love figs. I almost always keep some dried ones around, and when summer comes I like to eat them fresh with honey and yogurt, or some other tangy dairy thing. So yesterday, with these figs in hand and the mystery chocolate dough thawing on the counter, I got to work. 


Since our chickens are kind of...not really laying a lot right now, for some mysterious reason...I am short on eggs. I couldn't make any fancy fillings from scratch. But I did have some thick, molassesey pecan pie filling that I saved from a big batch I made for a dessert tasting. I know, I know. Right now you are thinking, that sounds...terrible. I know that you are thinking that because I thought it too. And then I thought about chocolate and pine nuts, and then I thought about food processors and that lemon curd frozen yogurt...

And then I made a delicious tart. 


We ended up eating the tart all by itself, because by the time we sat down to eat it I was so excited/curious/nervous to try it that I had forgotten all about the frozen yogurt. Maybe tomorrow.

Fig and Chocolate Tart
serves 8

For the dough: (adapted from The Professional Pastry Chef by Bo Friberg)

4 oz granulated sugar
14 oz unsalted butter, at room temperature
1 egg
1 tsp vanilla extract
1 lb 2 oz bread flour
2 Tbsp unsweetened cocoa powder

This recipe makes quite a bit of dough, so if you want to cut it in half, use only the yolk from the egg. If it's a touch dry, add a little water, just a tsp at a time, until the dough comes together.

Sift the flour and cocoa powder together and set aside. Mix the sugar, egg and vanilla on a low speed using a dough hook, just until combined. Add the dry ingredients, and mix until just smooth. Press dough onto a parchment paper lined baking sheet, cover, and refrigerate for at least 1 hour before using to allow the flour and butter to really meld.

To prepare the shell for baking, use a patty about the size of a large hamburger bun. Let the dough warm up a bit, and roll it out until it is about 1/2 cm. thick. Gently transfer the dough to your tart ring (on a sheet pan lined with parchment paper) and press it into the sides as you rotate the pan slowly. Instead of cutting off the scraps, carefully press the overhang down into the sides of the pan. This will give the sides a little bit more strength and make them less likely to break when you remove the tart from the ring, since the crust is very delicate. Put it into the freezer for about 10 minutes while you heat the oven and prepare the filling.


For the filling:

1 lb fresh figs
1/2 cup pine nuts
1 cup semi-sweet chocolate chunks, or chop your own from a favorite bar
1 cup of your favorite pecan pie filling, preferably one with some molasses in it

Heat the oven to 350º F. Rinse the figs, and trim off the stem end. Quarter them and toss them into your food processor. Pulse for a minute until the smallest pieces are about the size of a black bean . Add the pine nuts and pulse a few more times. You don't want the filling to be a paste--the nuts and fig pieces should still be recognizable as what they are. 

Put the filling into a bowl and stir in the chocolate and pecan pie filling. Pour it into your shell and put it straight in the oven. Bake about 35 minutes, or more depending on your oven, until the filling is set in the middle.  Remove from the oven and place the sheet pan on a rack to cool completely. 

If your tart pan has a bottom disk (unlike mine) you are in luck because it will be very easy to get out! Just slowly press the bottom upwards until it is free of the ring, and, using a pancake flipper, gently slide the tart onto a cake plate. If it doesn't, put a piece of parchment paper on top, then a cutting board. Flip the whole thing carefully over, take off the ring, then flip it back onto your plate. Applaud for yourself if your tart is in one piece.


Friday, July 8, 2011

Walking on Eggshells

Here at our house, we keep 8 chickens. I know I've mentioned them before. They're pretty lovely girls all individually, though they do have some quirks.


Right now we are struggling with integration blues. The oldest three hens--Effie, Andromeda, and Mambo--have all been giving the newest 5 quite a hard time. I know it's normal but it's distressing nonetheless. Mostly it's just Andromeda and Effie, and mostly they just chase Shadowfax around and pull out the occasional feather.


Effie, right after meeting the News for the first time. She crowed. For. Ever.


The Original Shadowfax
A little backstory on Shadowfax: Our first Shadowfax was a cockerel, someday to become a beautiful rooster and boss all the other chickens around. But living in Seattle, we couldn't let a rooster hang around, so we traded him for a slightly older bird--a 100% hen version of the same variety, Ameraucana. Isaac and Aaron decided she should still be named Shadowfax, and I went along with it because I was very sad to lose our original. He was so pretty. The new version is all white, and while she is pretty too (and already laying cute little eggs the color of mint ice cream) white isn't the most exciting thing in the flock.


The New Shadowfax


For the most part, the birds all "get along" by ignoring each other. I've slowly pulled out all the obstacles to integration. First the "News", as we call them, lived inside and only visited the outside world a couple of times. Then we moved them into a newly built coop with a run that was completely separated from the "Olds" so they could see/hear/smell each other but not have physical access to each other and each other's stuff. For a while I let them free-range at different times of day. Then we started to let them out into the yard at the same time, but with a bit of chicken wire splitting the yard in two. Then I needed the chicken wire to protect the garden from the girls, so I took it down and let them all be "integrated" but still having separate living quarters in the run/coop area. Now all barriers are down and they have to share a feeder and water.


Poor things. A few weeks ago, when Shadowfax started laying, she knew just where to go--into the Olds' coop, because that's obviously where you go if you want to lay an egg. It didn't matter to her that there were nesting boxes built especially for the News, which I showed her several times. I even put in a fake egg. She laid in there a couple of times. Then she started laying in the Olds' coop and just puts up with the abuse.


That's when the troubles began, because the Olds started to get much more territorial.


The evidence.
They chase her around and pin her down, and then she chases the other News around to try and assert her place above them. I know they'll get the whole thing figured out eventually. Probably around the time the rest of the News start laying . The funny thing is, the Olds really stir up the most trouble when I have to go out into the backyard for whatever reason. The News just try to stay out of the range of the Olds' beaks, hudled in their own little tight group, trying not to invoke the Wrath of Effie.


I know I need to cut off access to the Olds' coop. Our plan is to get rid of it entirely. But, I hesitate. It could go either way I suppose. It could put the Olds in the their place, since they would be forced to live in the News' coop. Or it could end in a bloodbath.


While they are working all that out, I quietly take the eggs and leave treats in their place. The eggs are delicious too--bright yellow-orange yolks with flavor so amazing you can hardly believe it.


I'm guessing everybody knows how to scramble an egg. But do yourself a favor, if you've never done it before. Go to your local co-op, or farmer's market. Splurge on 6 or 12 of the eggs fresh from a local farm. Go home, and poach or fry a couple, so that the yolk is just thickening up. Make a piece of toast from your favorite crusty bread, and eat it. Sop up all the drippy yolk with another piece of toast. (Whatever you do don't boil them, because you'll never get an egg that fresh to peel properly. I usually let them sit in the fridge for a week if I know I want to boil some.)


You might never go back to store-bought, and that's a happy thing.


Tuesday, July 5, 2011

Spilling the Beans

There are some secrets that people who keep kosher might never tell you. Especially people who have only started keeping kosher relatively recently, like me. They might not want to tell you that kosher food isn't all fattening. That it isn't all somehow simultaneously too salty and too bland. That it isn't just bagels with lox and matzoh ball soup all the time. 

They might not tell you those things, because then they would have to share their recipes with you.

Or if you are me, they might not tell you because they are actually keeping secrets. Things their Rabbi might be shocked to hear. Like how at our house, we stopped buying hechshered meat and started buying local, humanely raised meat instead. 

We don't eat a lot of meat at our house, for lots of reasons. It's expensive; it's not always the healthiest, easiest protein; we prefer cheese and real butter over meat and dairy alternatives; etc. A while ago there was some controversy over the way that kosher meat was raised and slaughtered. Basically, it's agri-business as usual. I won't get into the politics of it here because they are too complicated and it will distract me from what I really want to tell you about. Suffice it to say that we chose to start buying local meat instead--at least until we can get a local, kosher option--because we think local and humane is better than kosher for kosher's sake. 


I took a field trip to the farmer's market last week. I had a few for sure things on my list. Salmon, peas, cherries. And I wanted to pick up something to grill. I stopped at the Olsen Farms tent, because I knew I could find something tasty there. I drooled for a second over their 100% beef sausages, but in the end I decided on some ribs. Plain old ribs. Just enough for Joe and I, and a few little nibbles for Lilli. Well, those and a package of all beef bacon, but that's for another day. The ribs were a pretty penny, but they were worth every cent.

I've been craving BBQ probably since I started keeping kosher almost 3 years ago. I knew exactly what I was going to do with these ribs--all I had to do was give them a little bit of my time. 


Lilli went down for a nap and I headed straight to the kitchen. Things have been accumulating in the fridge, just begging to be made into BBQ sauce. I had some leftover chopped up onion, the last couple of chipotles from a chipotle apricot chicken kick a while back, and various tomato ingredients from making a version of these delicious white beans earlier in the week. I put everything I had together and let it simmer for a bit, tasting as it went along and adding dashes of this and that. Then I blended it, in a couple of batches to prevent further harm to the blender. I used a bit as a marinade for the ribs and saved the rest to slather on while they cooked on the grill. 

At this point it was only about noon, and I was nearly beside myself with impatience waiting for dinner time. I calmed myself by licking the spoon. 


Later, as I par-boiled the ribs so they would be mostly done by the time they got to the grill, I dressed up some sugar snap peas. And by "dressed up" I mean I blanched them, covered them in olive oil, and skewered them. It was a simple costume, but sometimes less is more when it comes to grilling vegetables. 


The sun even came out for our BBQ, which made the evening so much better. We coupled it with some simple rum and cokes (Made by Joe while I started the grill, because he's not the best griller in the world. He told me it was OK to tell you that.) It was a perfect dinner for three.

Gratuitous shot of the garden


Ice-Box BBQ Sauce makes about 4 cups, give or take

1/2 Walla Walla or other sweet onion, diced
2-3 cloves garlic, minced
1/2 -1 whole can diced tomatoes in juice
1/2 can tomato paste
1/4-1/3 maple syrup, to taste (I use less)
1-2 chipotle peppers in adobo sauce (optional, or you could add more if you want it spicier)
1/3 cup balsamic vinegar
1/3 cup worcestershire sauce
salt and pepper to taste

A note about making BBQ sauce. It's kind of an imperfect art. You want a little sweet, a little spice, a little tang. It's good to start with a base and taste often as you go. You can adjust any of the ingredients as you see fit for the sauce you want to end up with. It's great on pretty much any type of meat you can imagine. 

Heat a saucepan and add a little swirl of vegetable oil. Add the onions and cook until just beginning to brown a bit. Add the garlic. Add the tomato paste and let it get thick and start to brown. Now add the vinegar to deglaze the pan, and let it come to a simmer. Then add the rest of the ingredients, bring to a boil and turn down to medium-low heat. Let it simmer for 10 or so minutes so that the flavors can combine. Taste often and adjust. If you like it sweeter, add more syrup or maybe even some ketchup or brown sugar. Want a little more tang? Add more vinegar. You can experiment with other spices and also you could add bourbon. Just sayin'. 

When it tastes like BBQ sauce to you, blend it in the style you prefer. If you use a blender, remember to do small batches so you don't end up with hot sauce all over your cabinets. Although, sometimes this happens to the best of us. Now slather it on your favorite meat and introduce it to a flame. You will not regret it. Even your baby will love it.